Editing a Client
Access the Client Details by selecting the Client you want to edit in the Clients list
You will notice that there are several key tabs, which we will cover in detail.
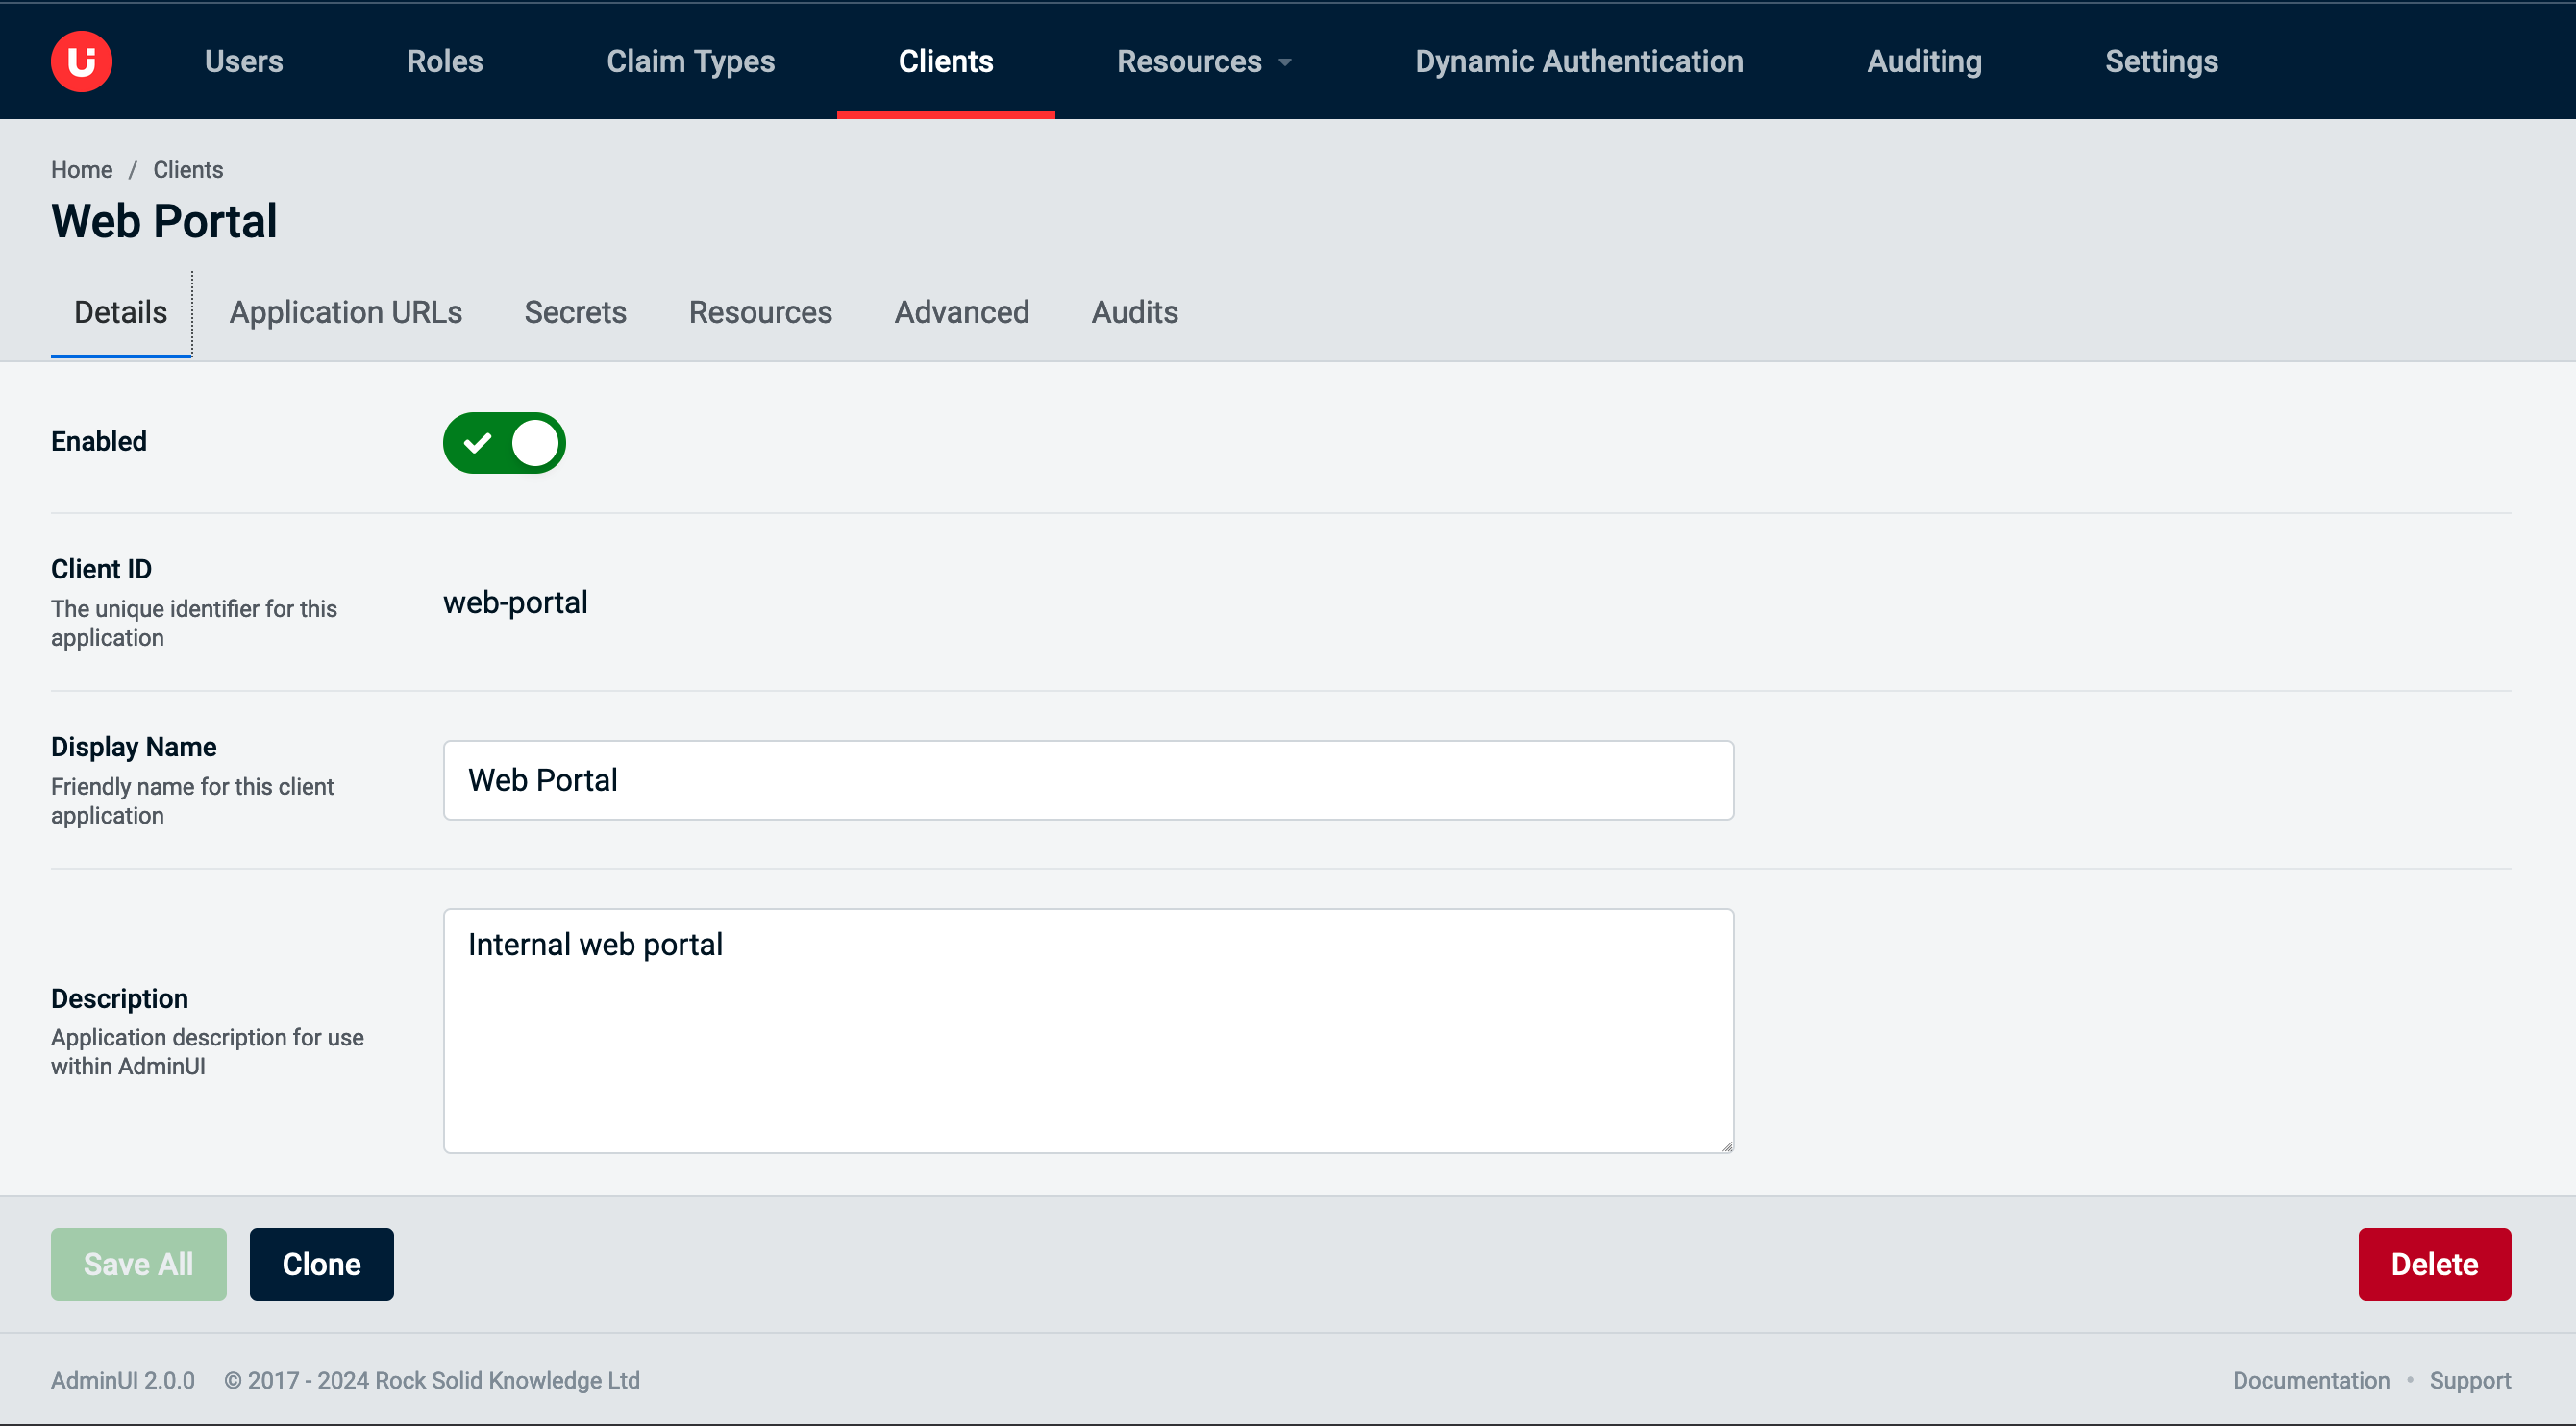
You will observe the tabs available to edit are Details, Resources, Application URLs and Advanced.
On the Details tab, there is a display of the following:
StatusThe status of the Client (e.g. Disabled/Enabled)Client IDReadonly display of the Unique identifierDisplay NameApplication name that will be seen on Consent ScreensDescriptionApplication description for use within AdminUI
There is the option to Save the updated changes, or to Delete the Client, which will be covered in more detail later.
Editing Client Resources
It is possible to assign and unassign Client Resources via the Resources tab of the Client Details Edit page.
Click the Client "Resources" tab:

You will then be able to switch between either Protected Resources or Identity Resources.
Assigning Client Resources
To assign Client Resources, after selecting either the Protected Resources or Identity Resources button, you will see a dialogue used throughout AdminUI that allows you to assign or unassign resources via clicking the arrow:

Successful Client Details Edit
Once you have successfully made the edits you require, click Save, and you should then see a success dialogue informing you that your changes have been saved. Your changes should be active in the Client immediately.
Updating Application URLs
Through the Client interface on the Application URLs tab, you will see the option to add an initiate Login URL and also update Application URLs.
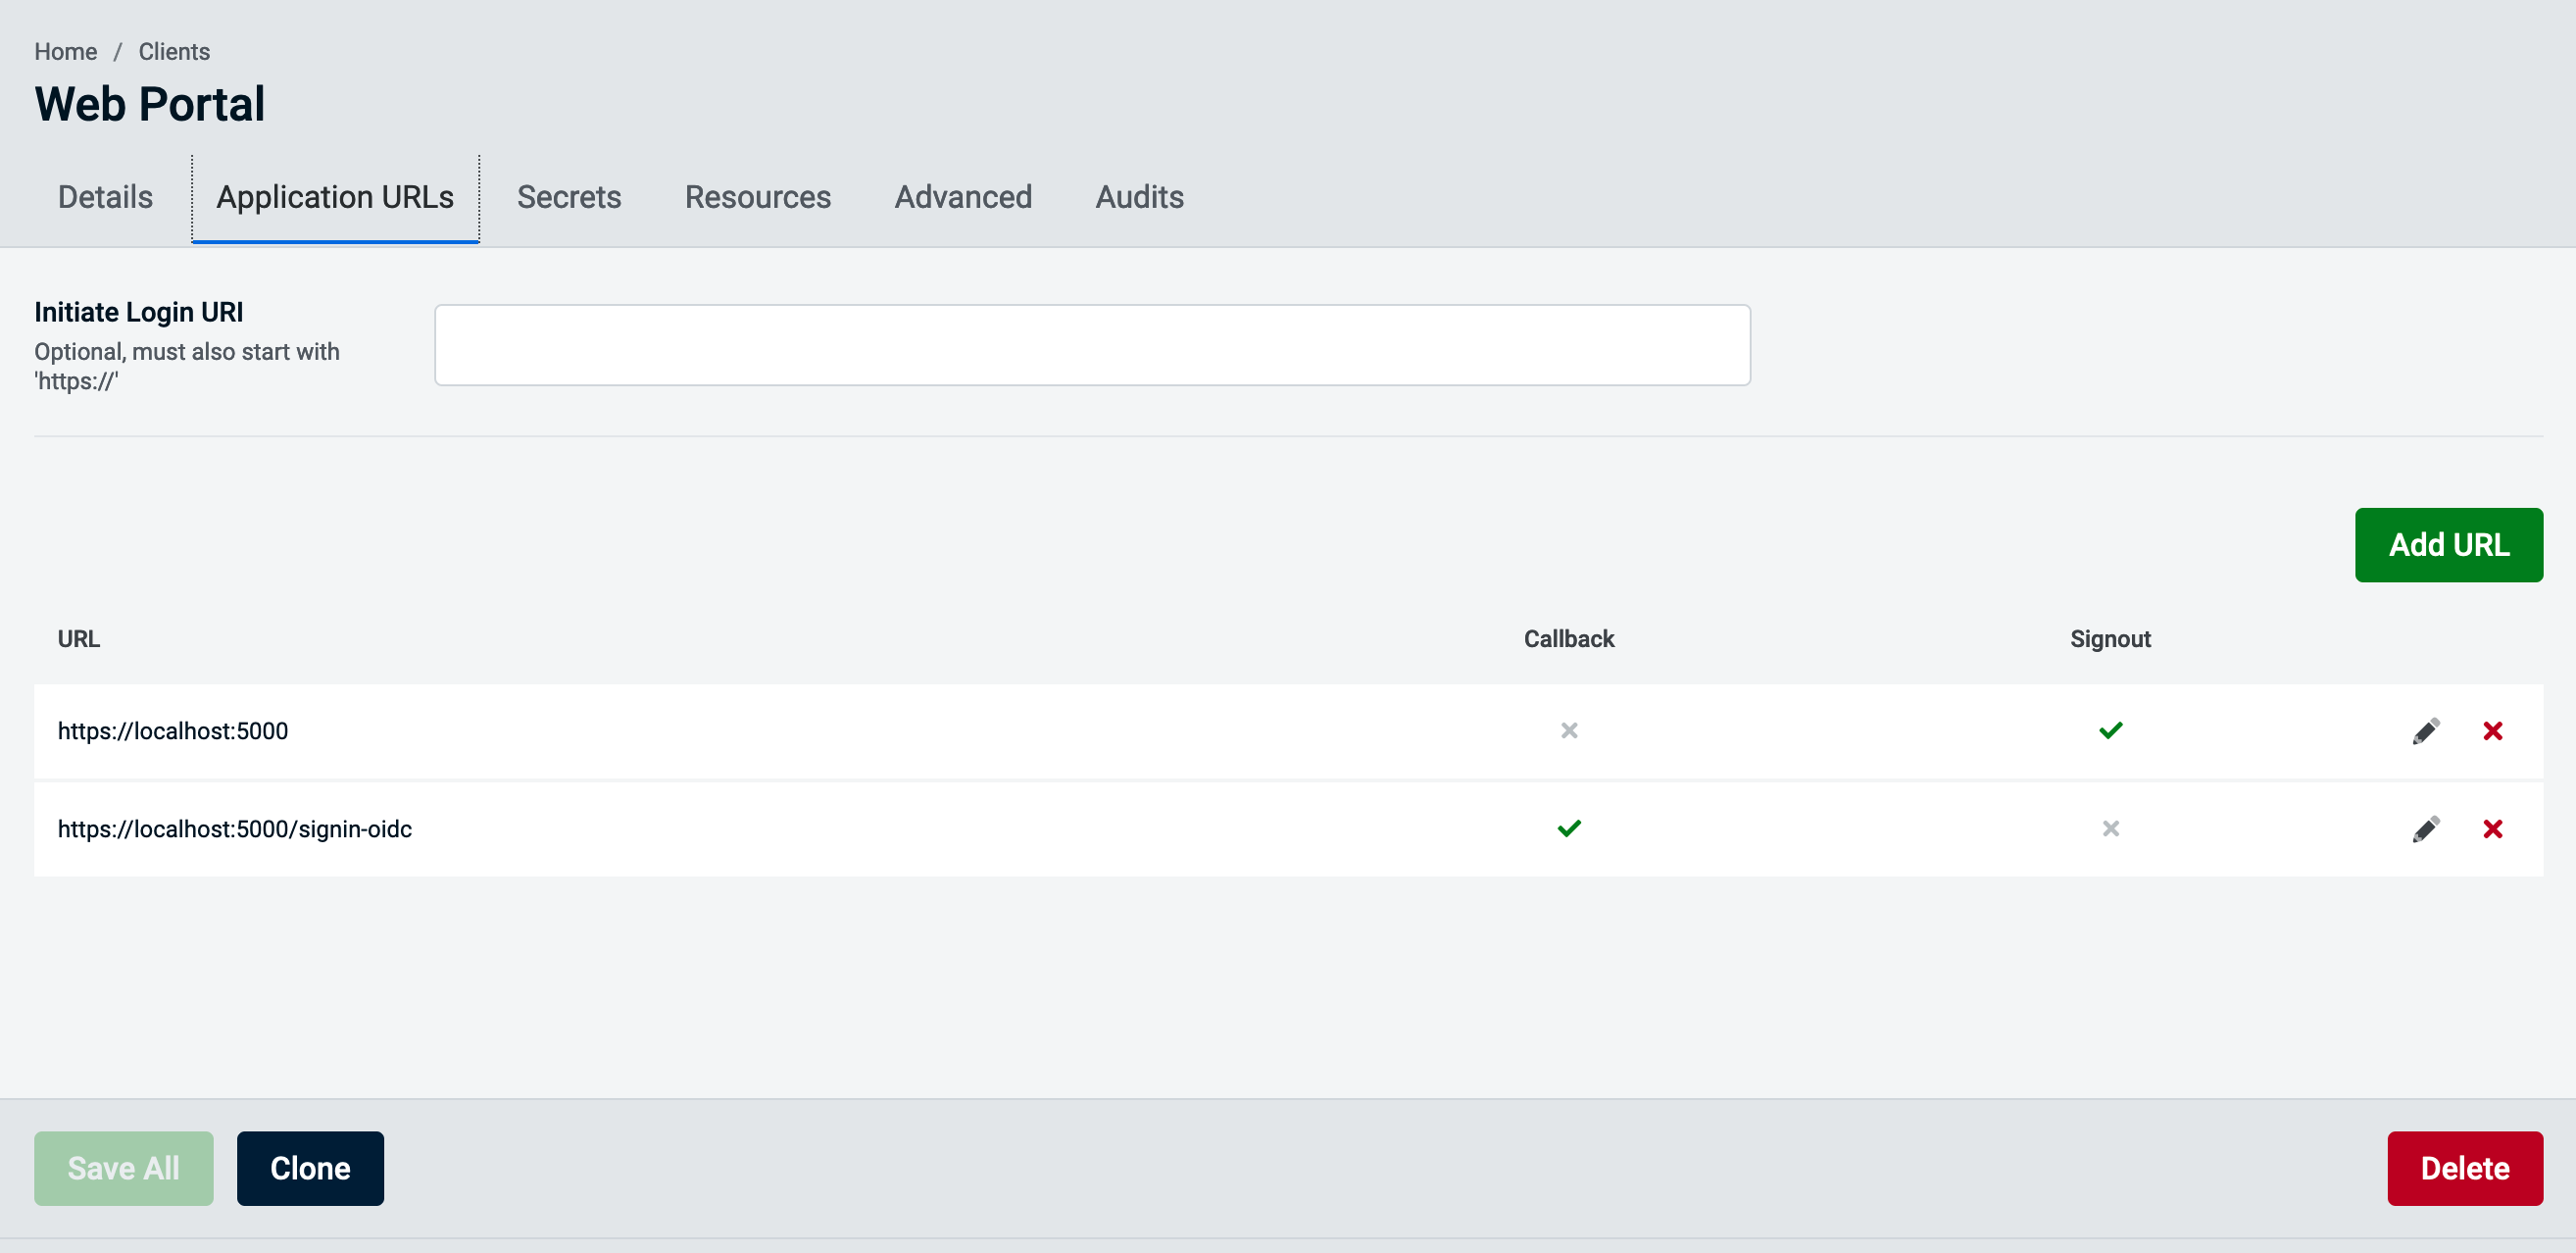
You can add a new URL by clicking the add button and the following modal will be presented.
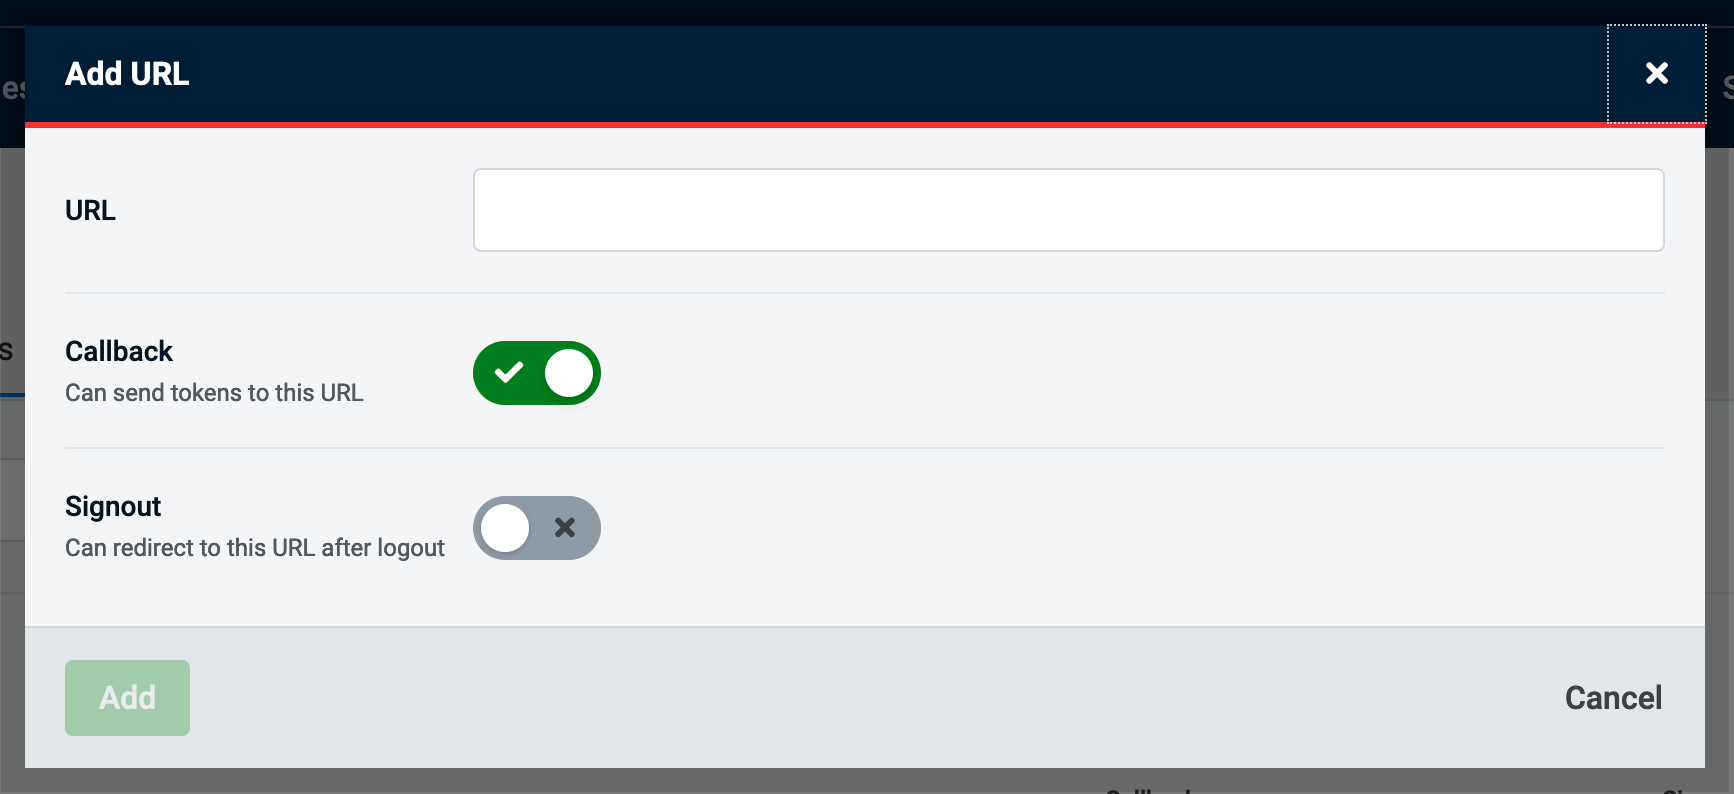
There are several options for each URL:
Callbackcan send tokens to this URLSignoutcan redirect to this URL after signoutCORSDomain that can make cross-origin requests
Advanced Authentication Request Configuration
Through the Authentication Request advanced tab you will be able to configure setting that are related to the initial authenticate request.
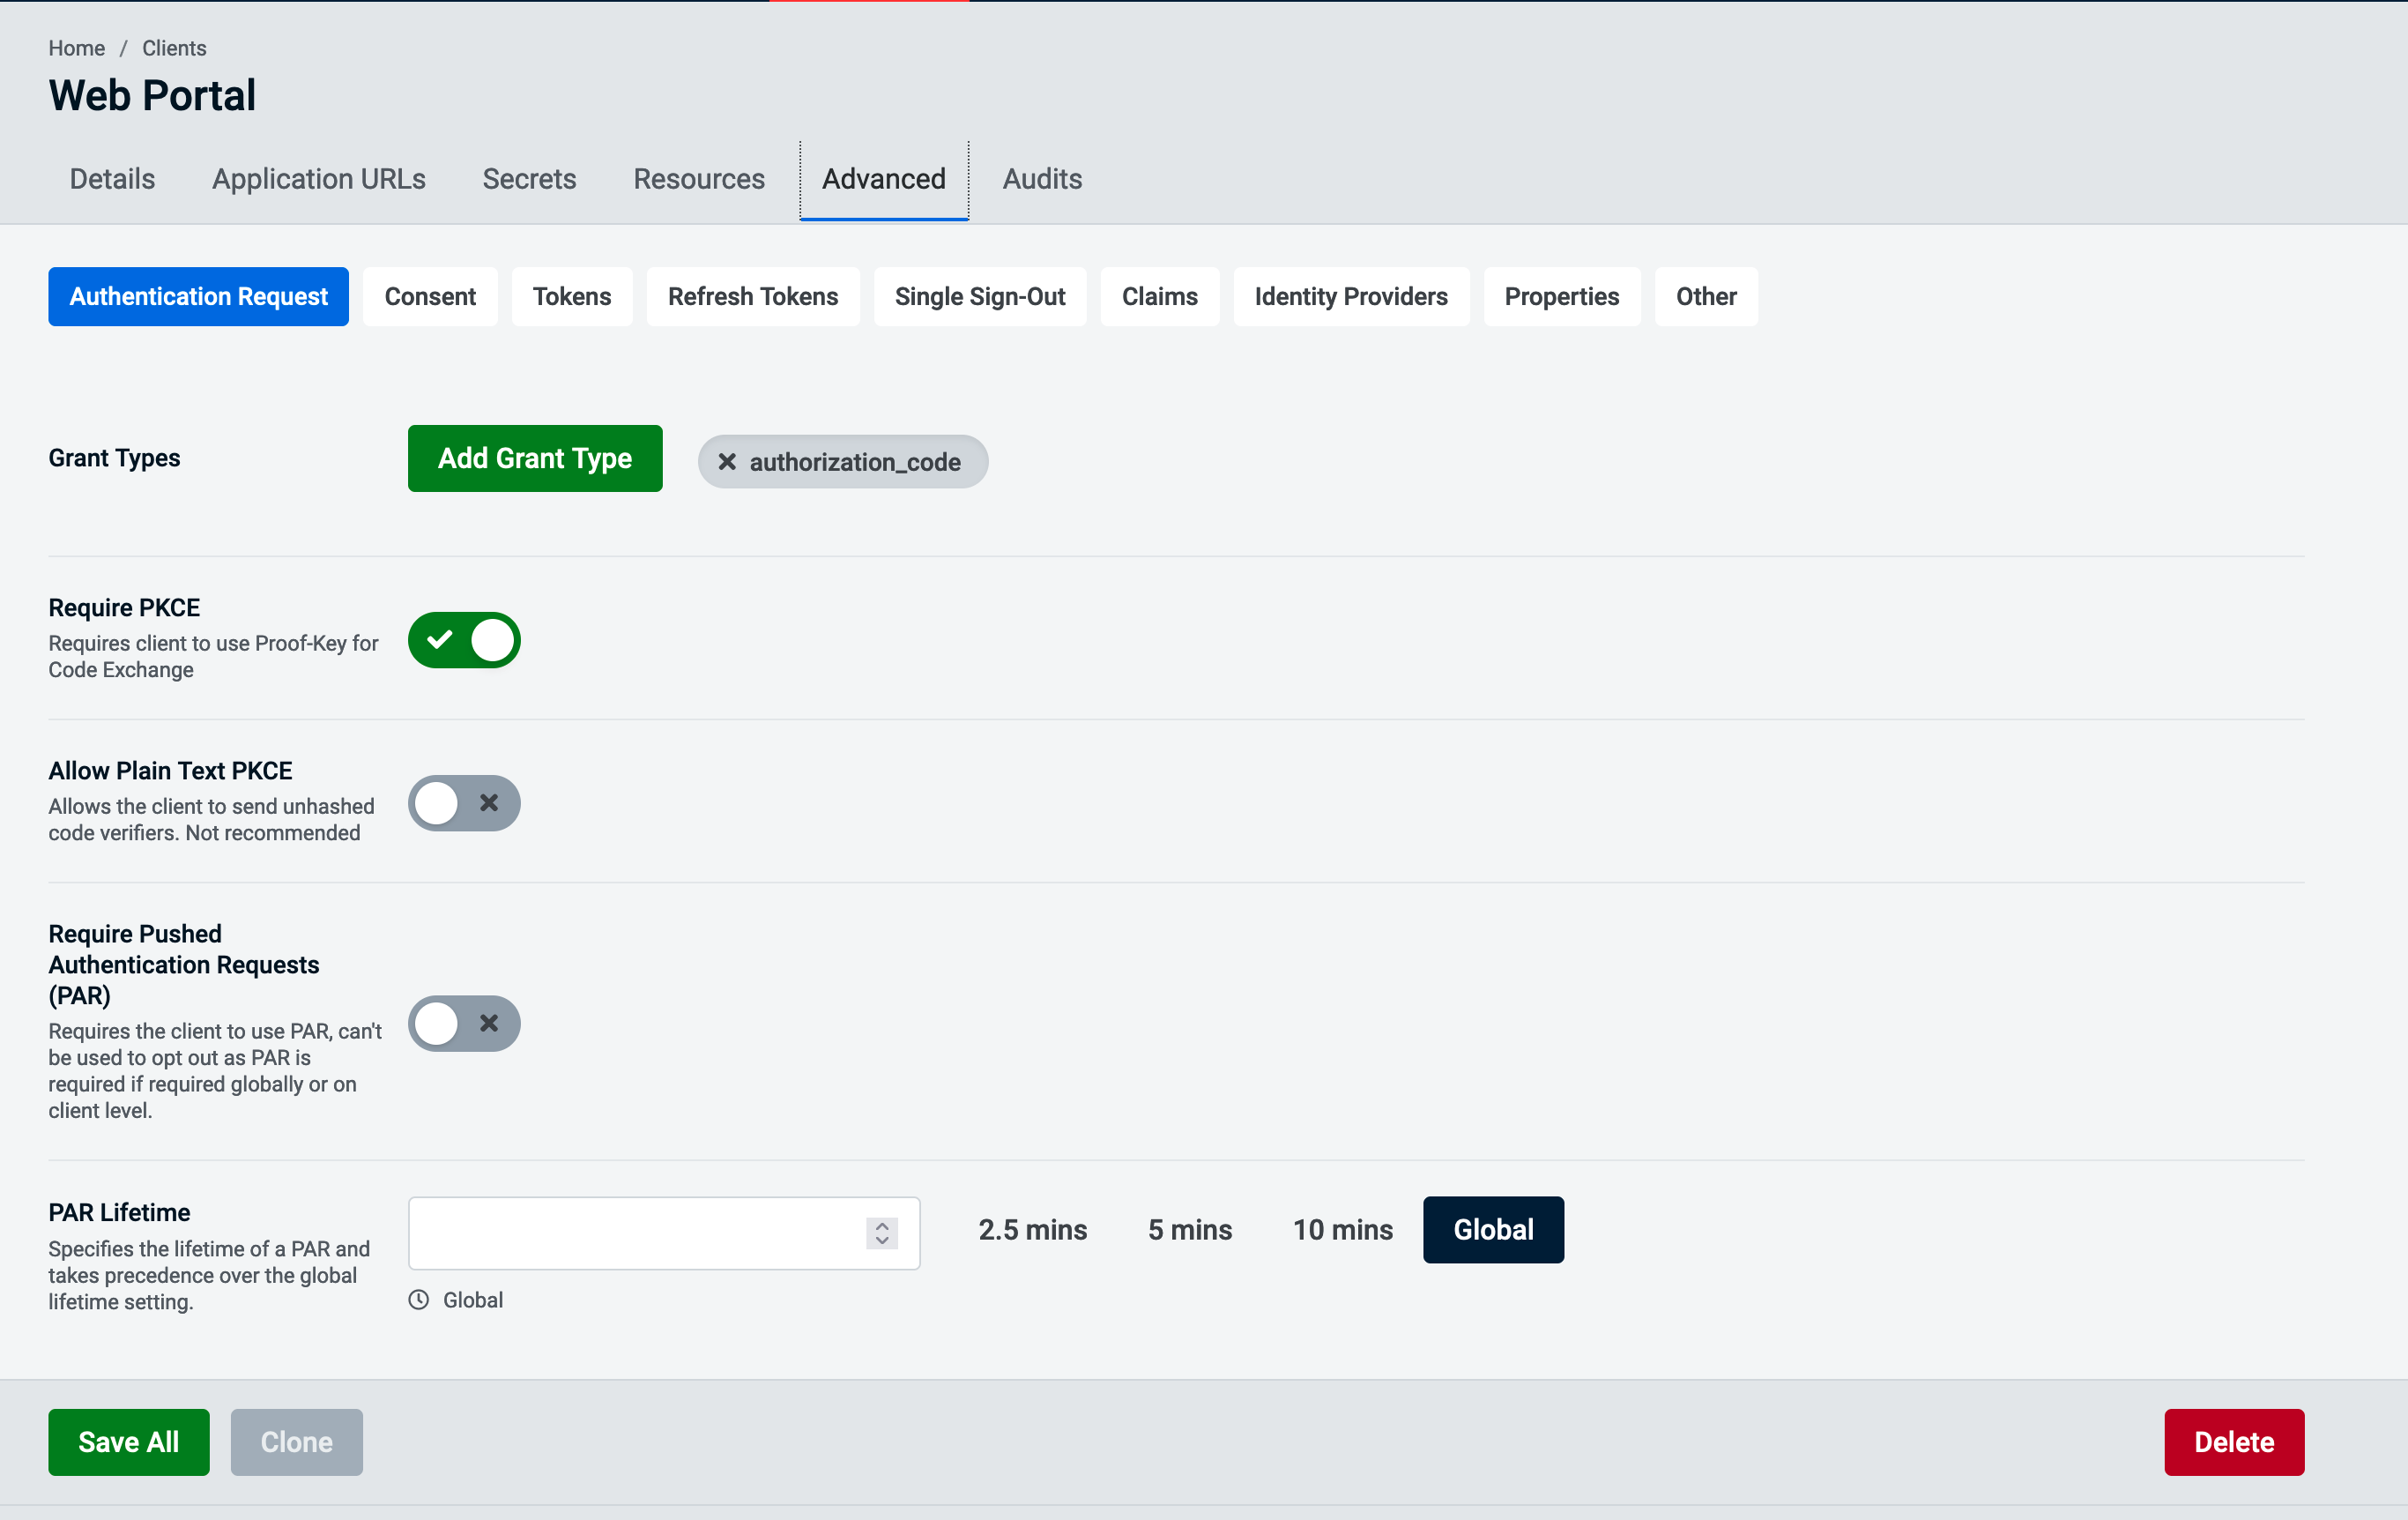
There are these option to configure on this screen:
Grant Typesa collection of supported grant typesRequire PKCERequires client to use Proof-Key for Code ExchangeAllow Plain Text PKCEallows the client to send the PKCE unhashedRequire Pushed Authentication Requests (PAR)Defines if the client should use PAR, can't be used to opt out as PAR is required if required globally or on client level.PAR LifetimeSpecifies the lifetime of a PAR and takes precedence over the global lifetime setting.
Advanced Consent Configuration
Through the Consent advance tab you will be able to configure setting related to the consent.
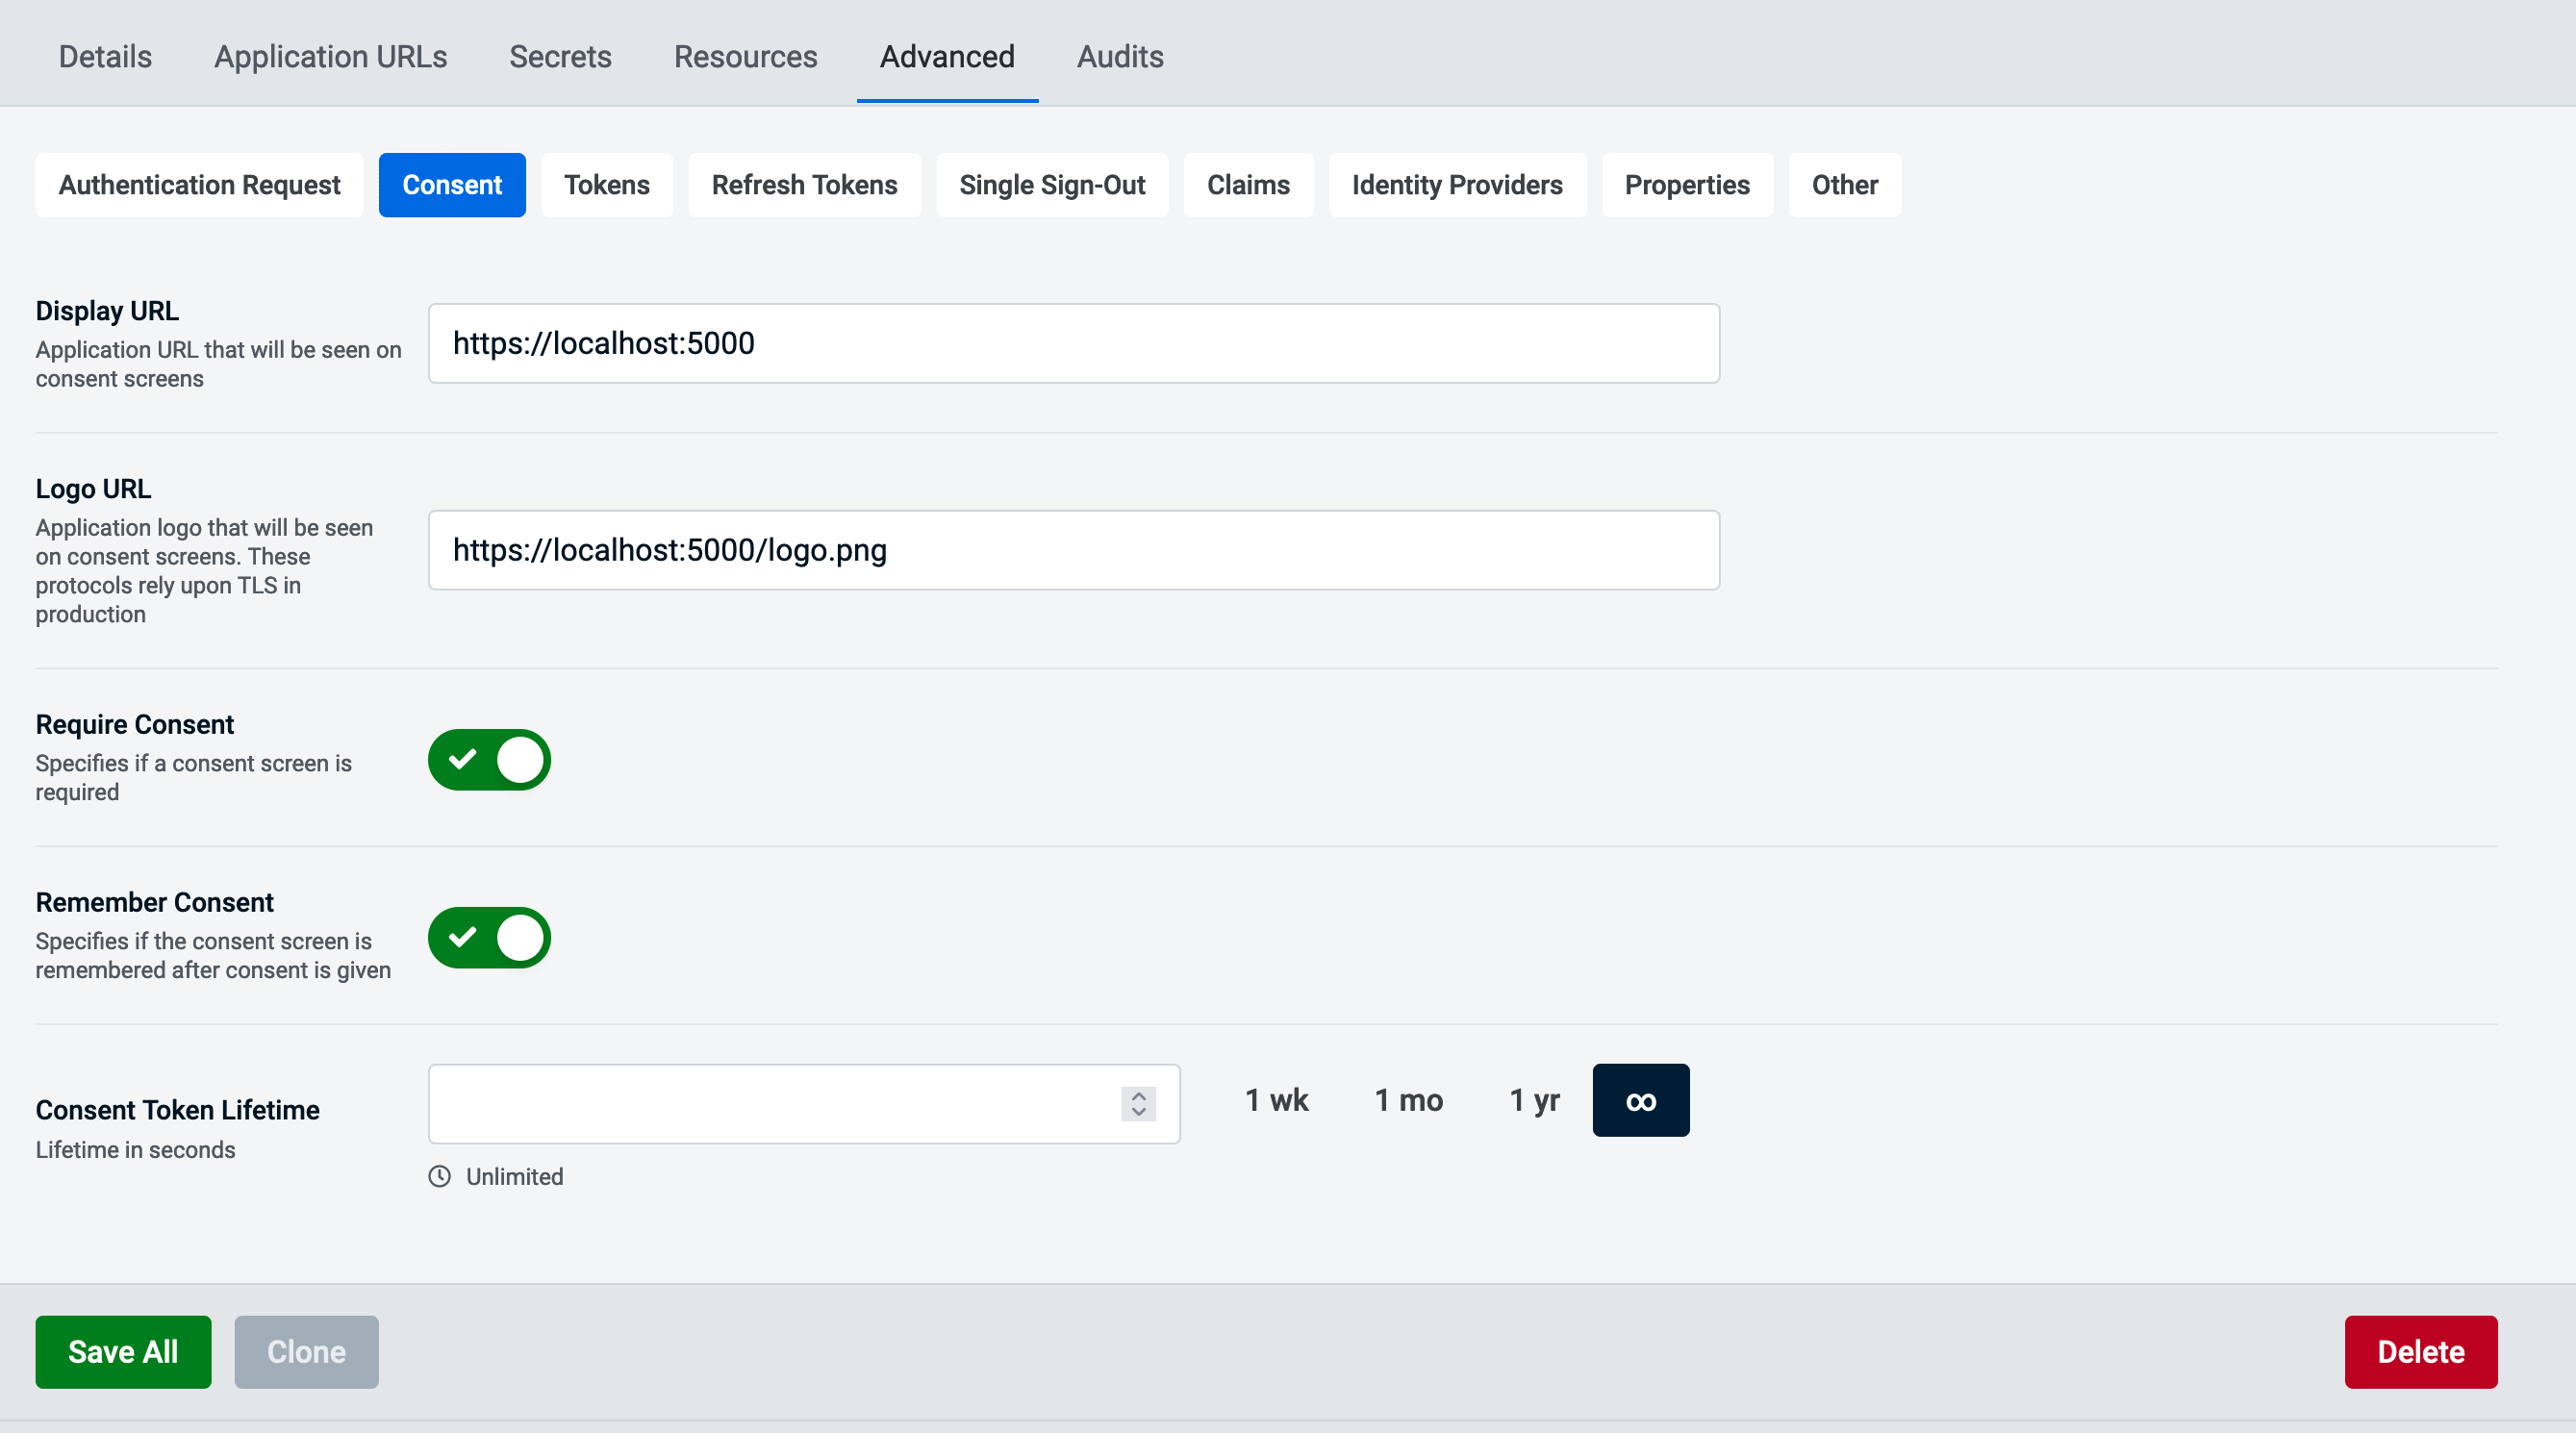
There are these options to configure:
Display URLApplication URL that will be seen on Consent ScreensLogo URLApplication Logo that will be seen on Consent Screens (Must be HTTPS)Require ConsentSpecifies if a consent screen is requiredRemember ConsentSpecifies if the consent is remembered after consent is givenConsent Token LifetimeSpecifies how long a consent is valid
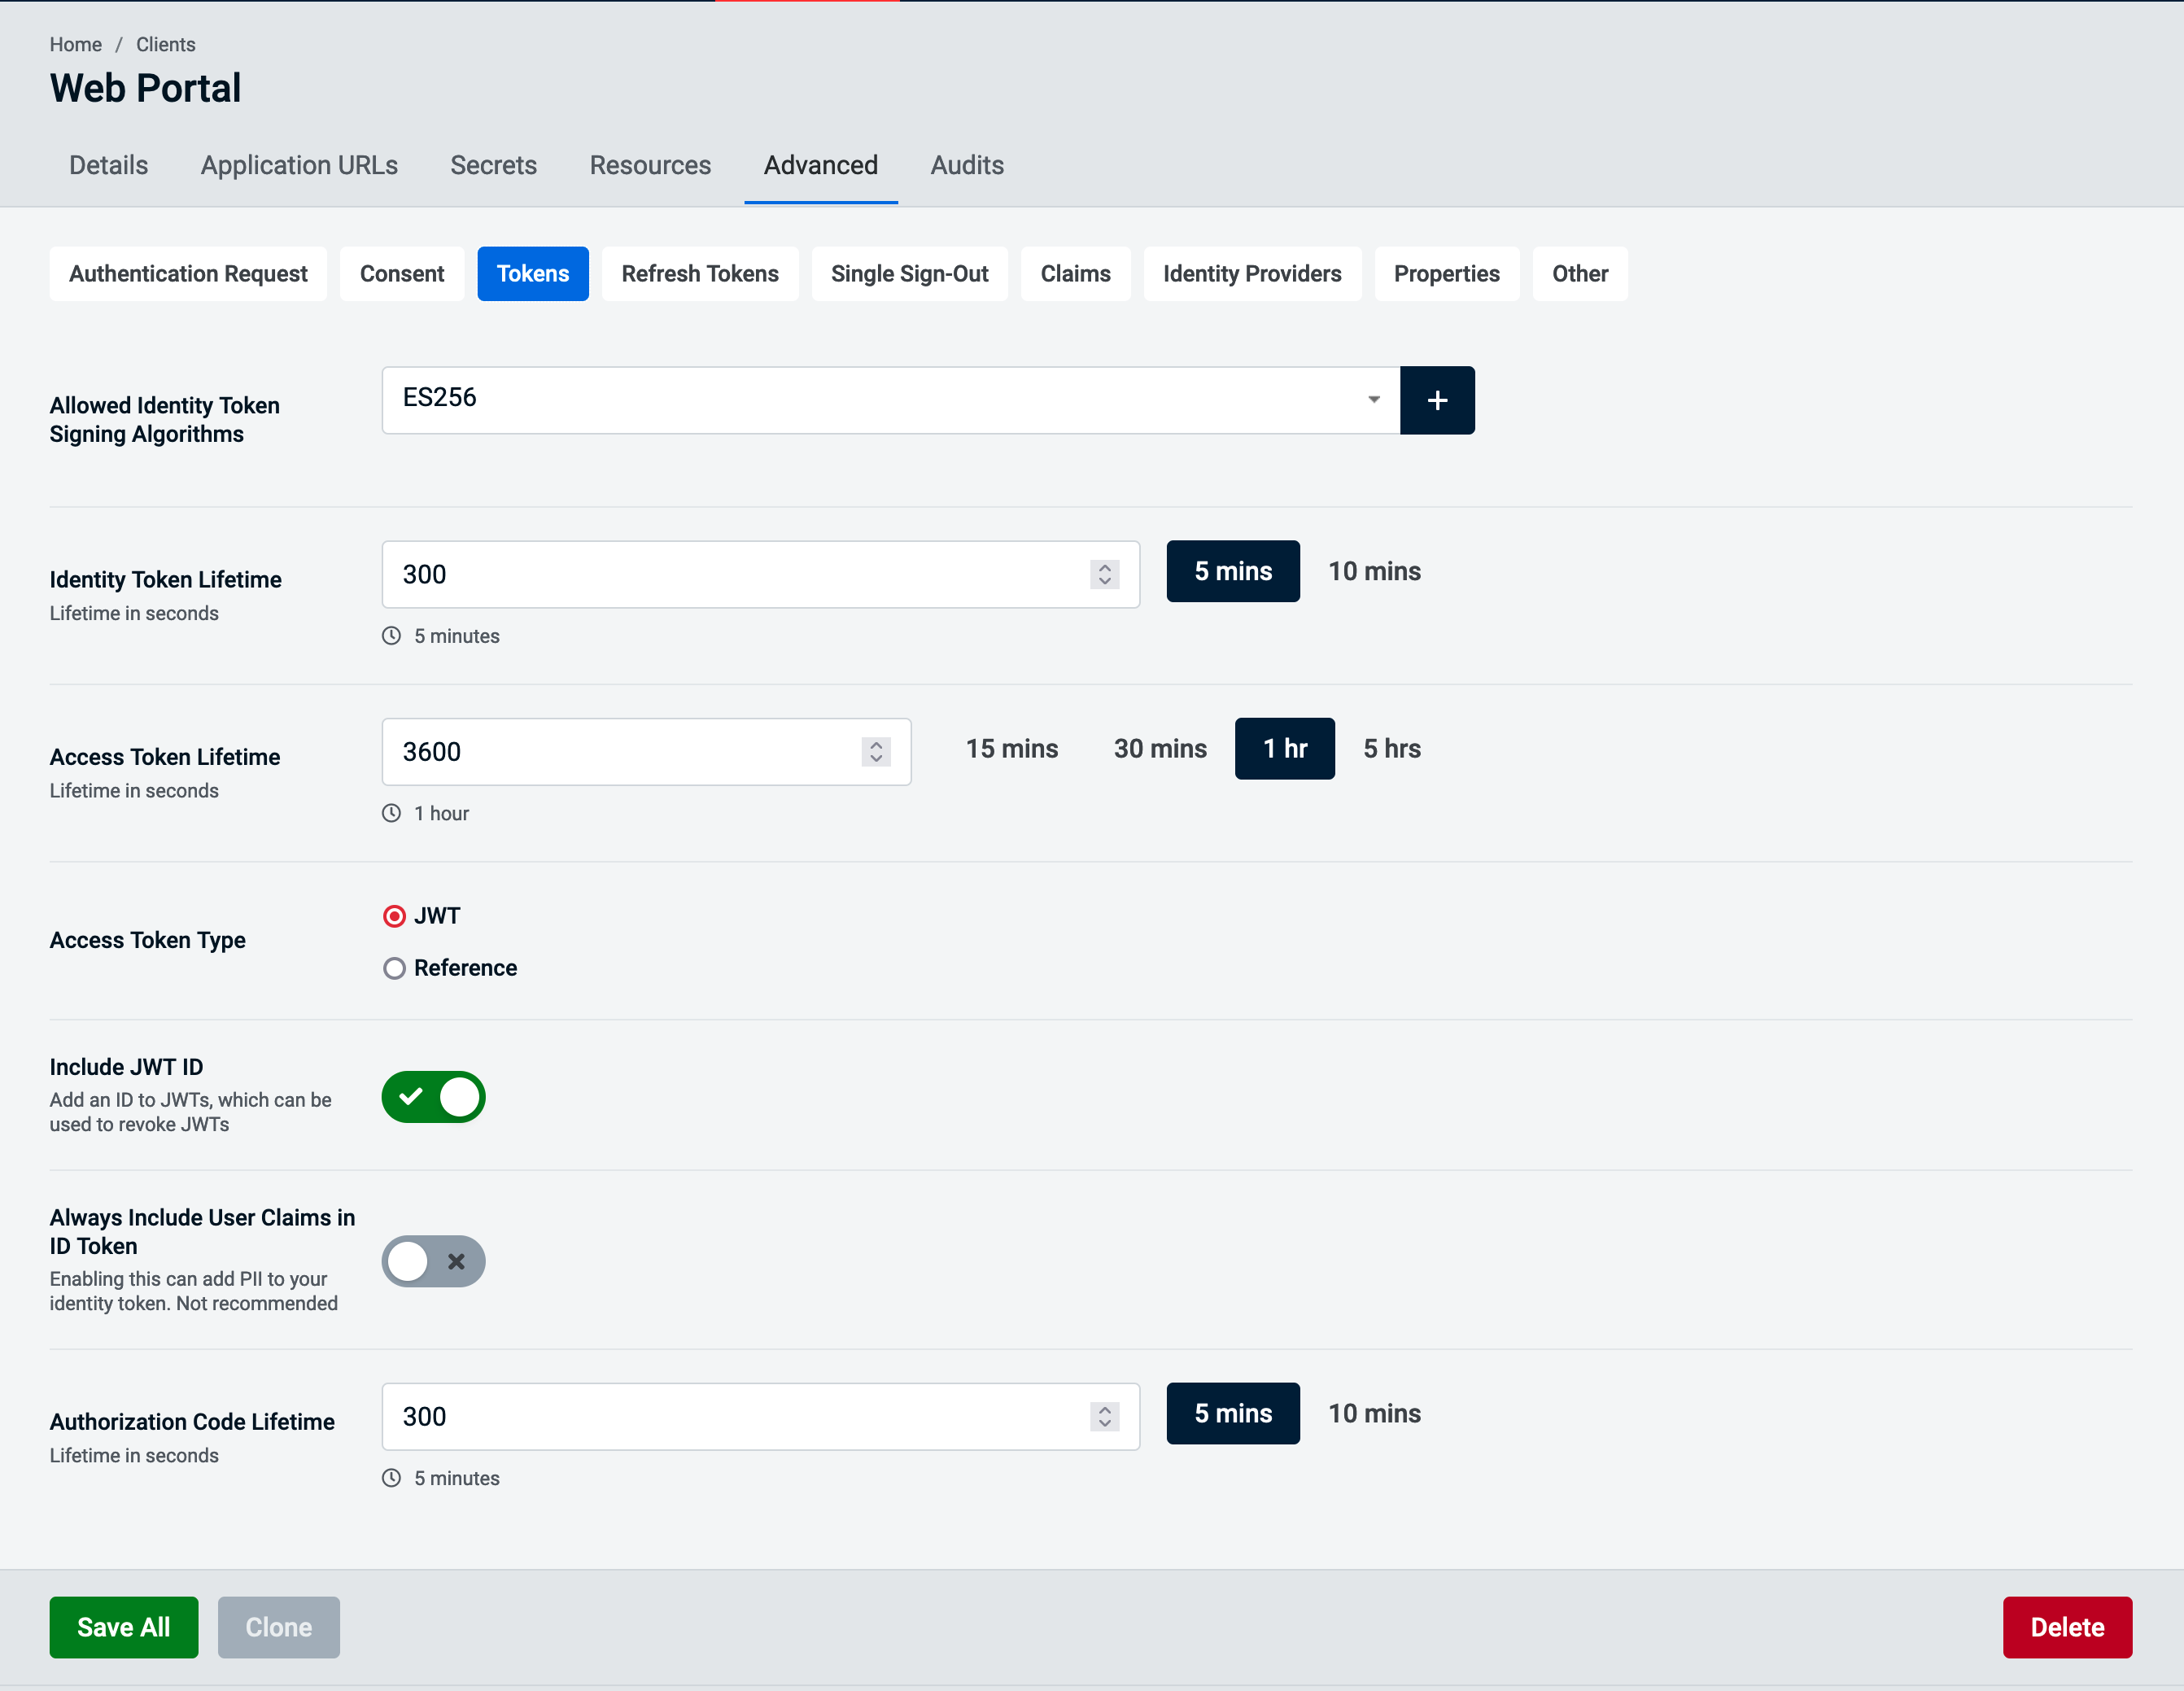
Advanced Tokens Configuration
Through the Token advance tab you will be able to configure setting related to the access tokens.
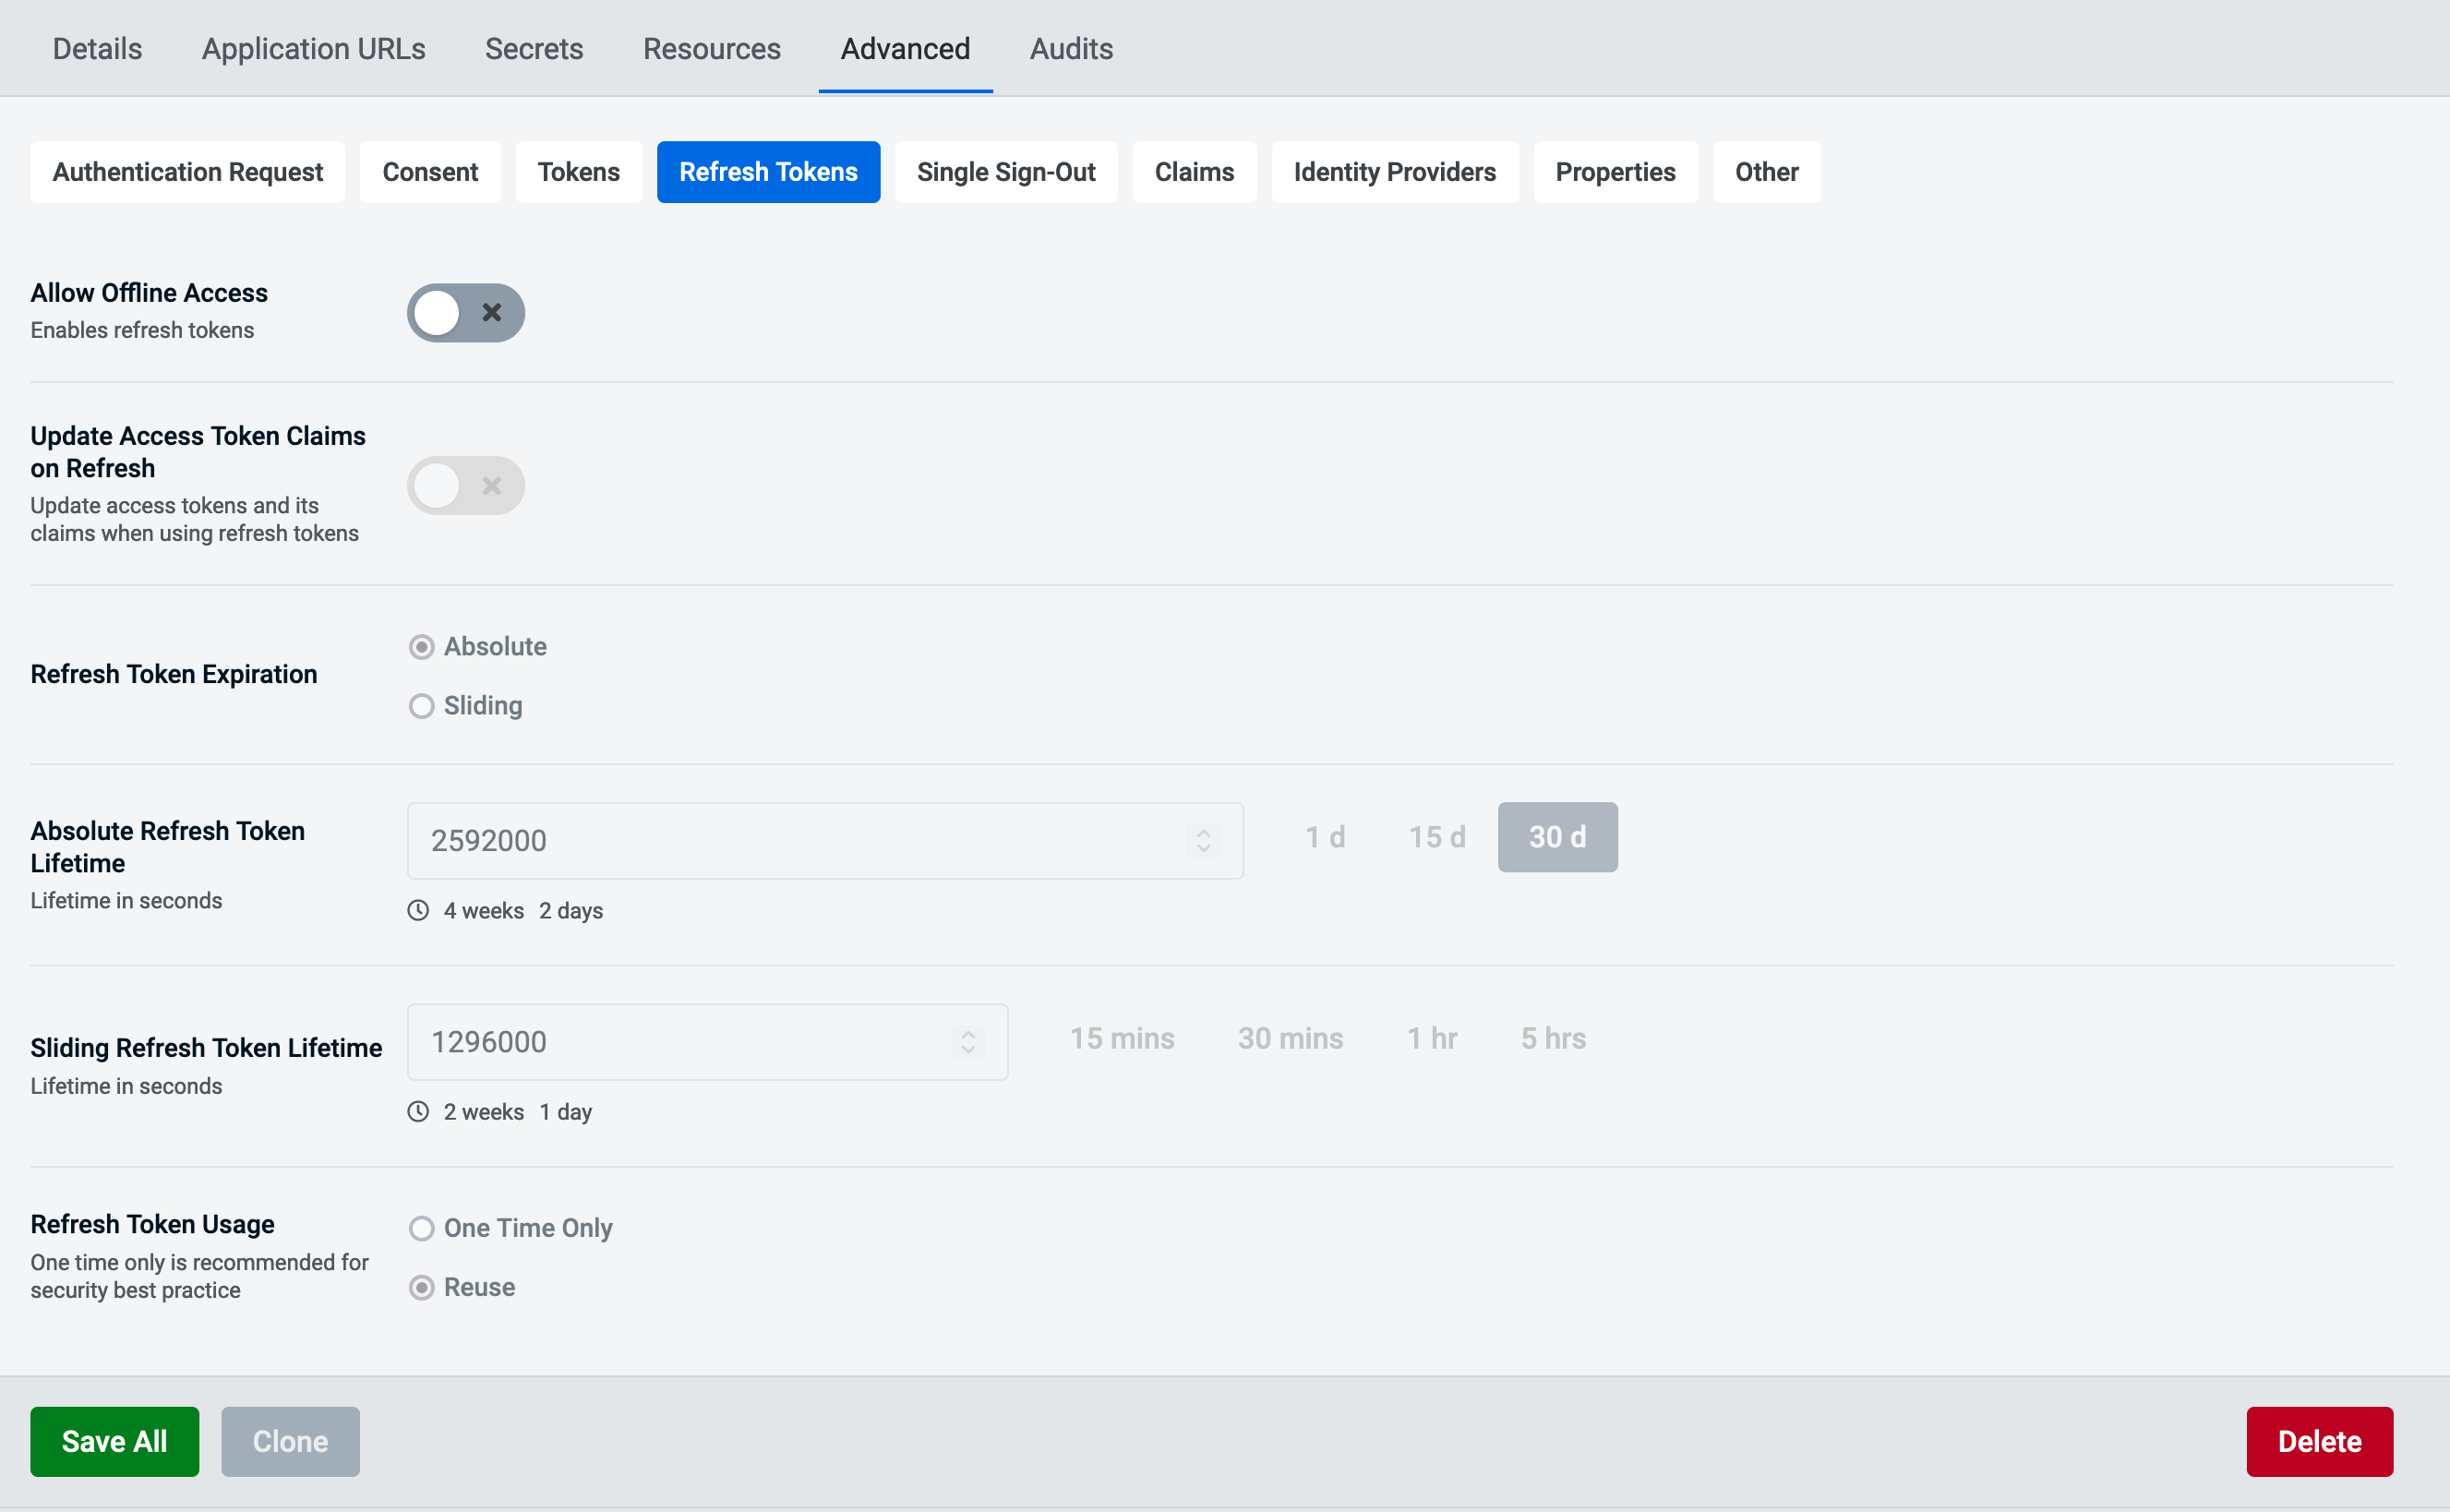
Advanced Refresh Tokens Configuration
Through the Refresh Token advance tab you will be able to configure setting related to the refresh tokens.
Advanced Single Sign-Out Configuration
Through the Single Sign-Out advance tab you will be able to configure setting related to the sso.
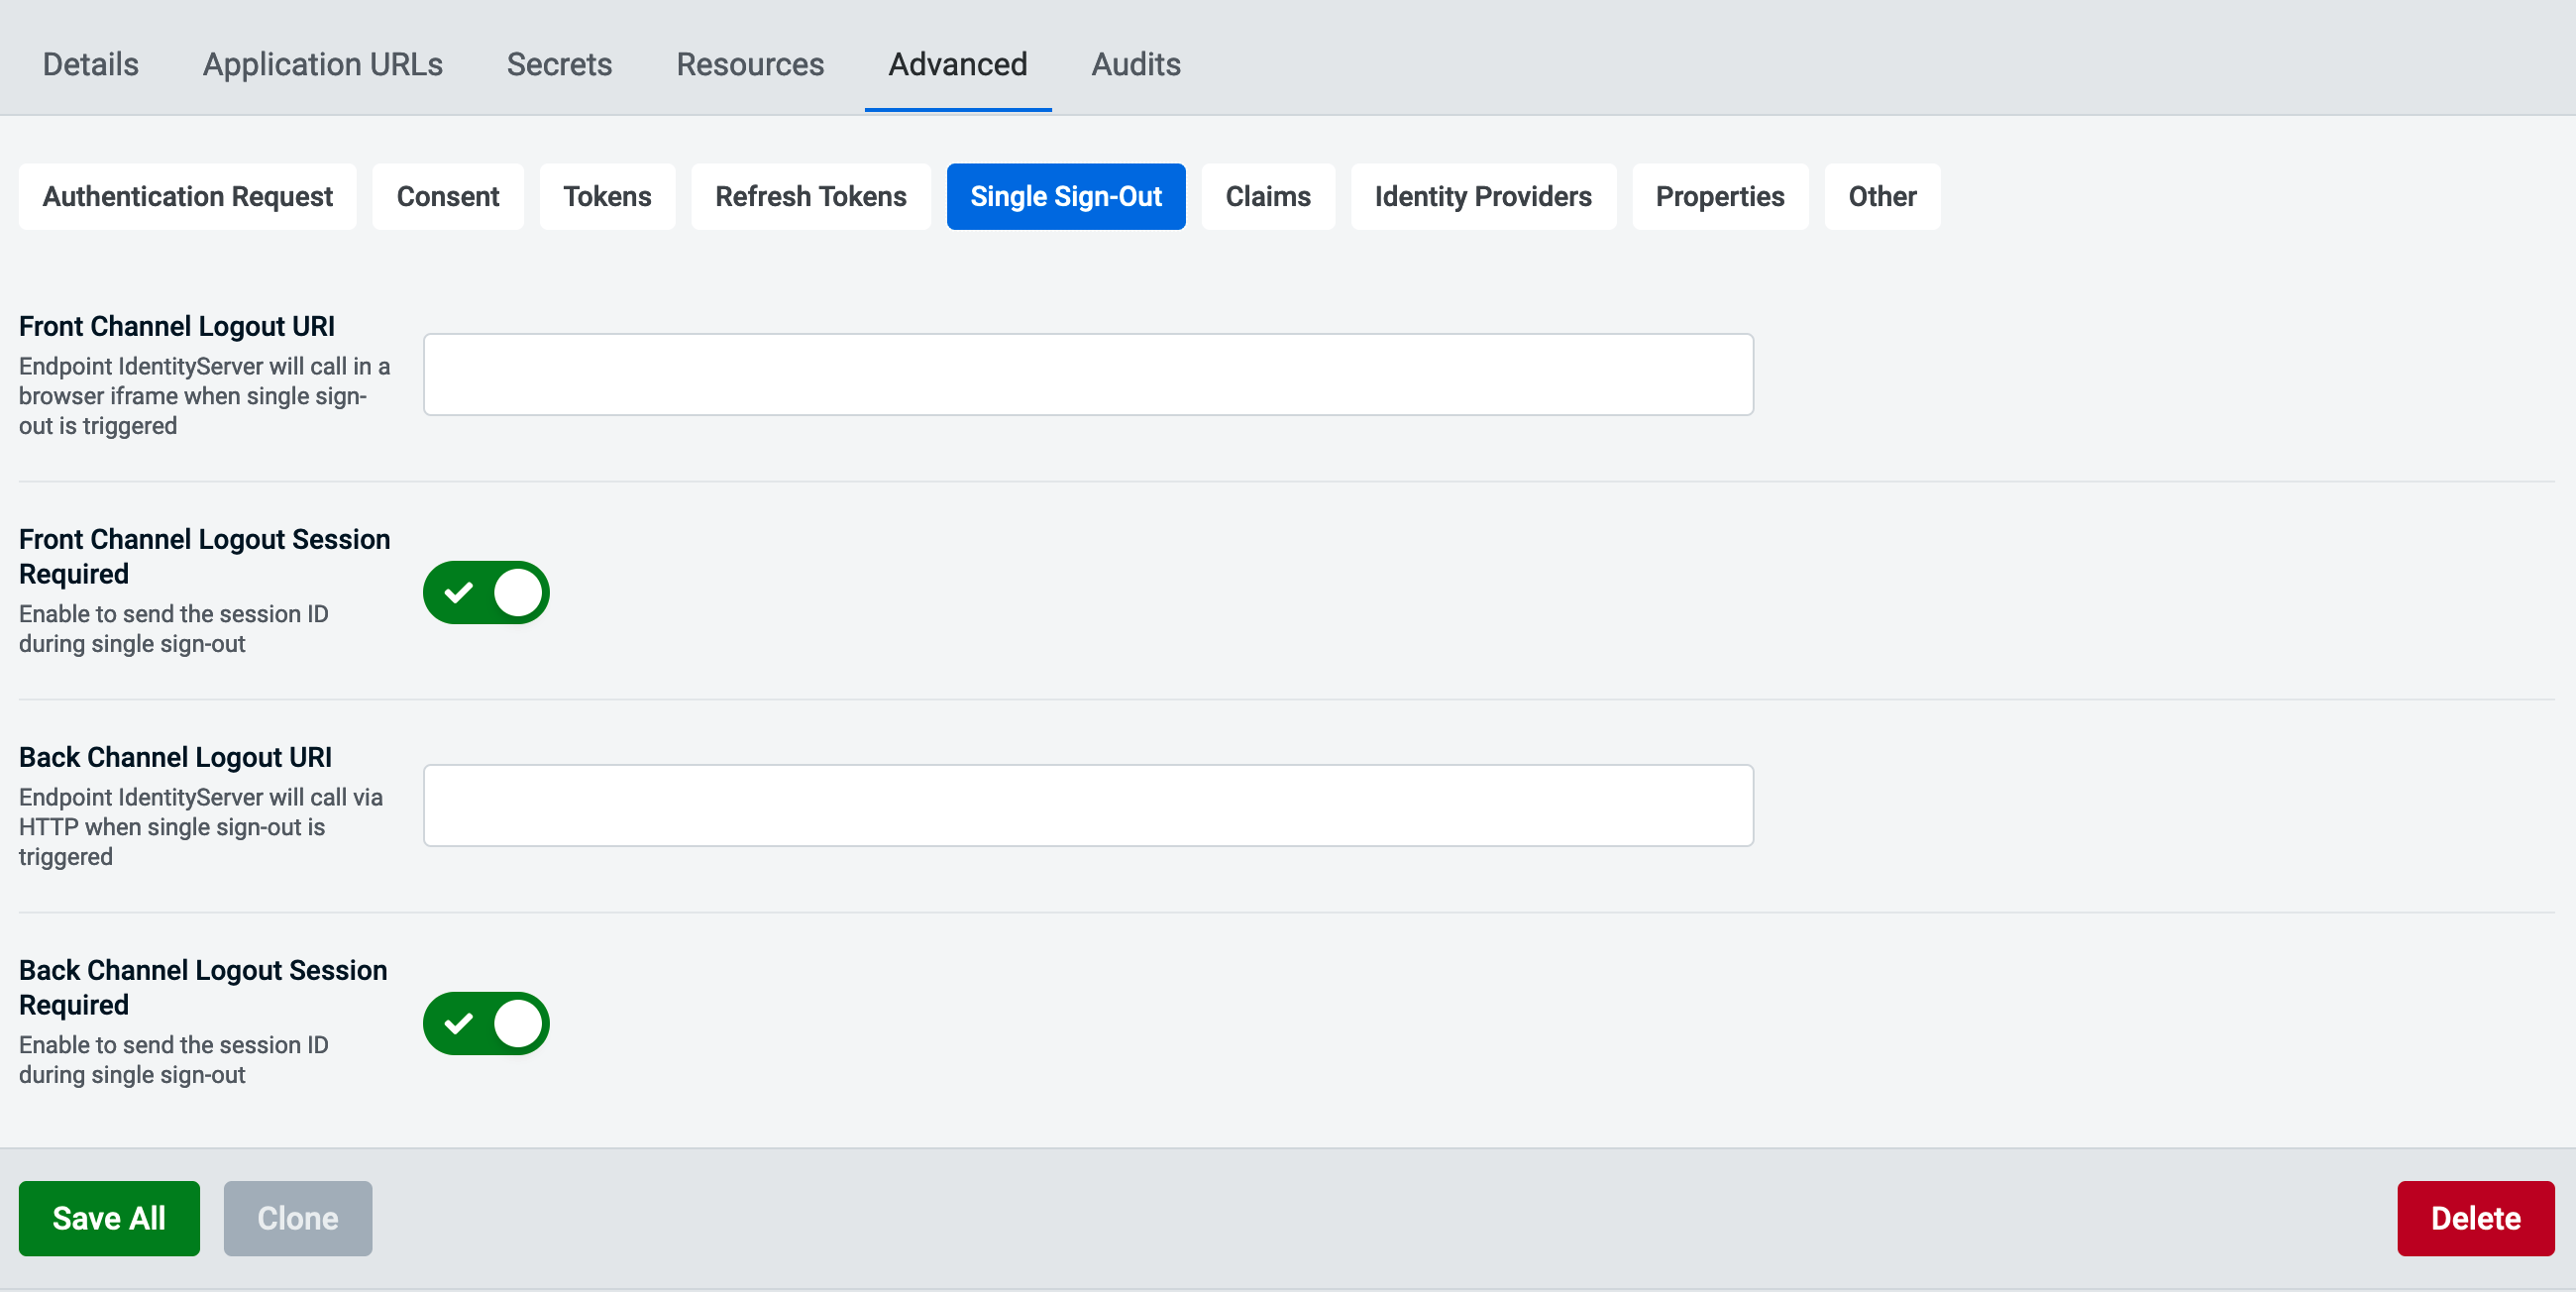
There are these options to configure:
Front Channel Logout URIEndpoint IdentityServer will call in a browser iframe when single sign-out is triggeredFront Channel Logout Session RequiredEnable to send the session ID during front channel single sign-outBack Channel Logout URIEndpoint IdentityServer will call via HTTP when single sign-out is triggeredBack Channel Logout Session RequiredEnable
Advanced Claims Configuration
Claims can be configured via the Advanced tab by selecting Claims.
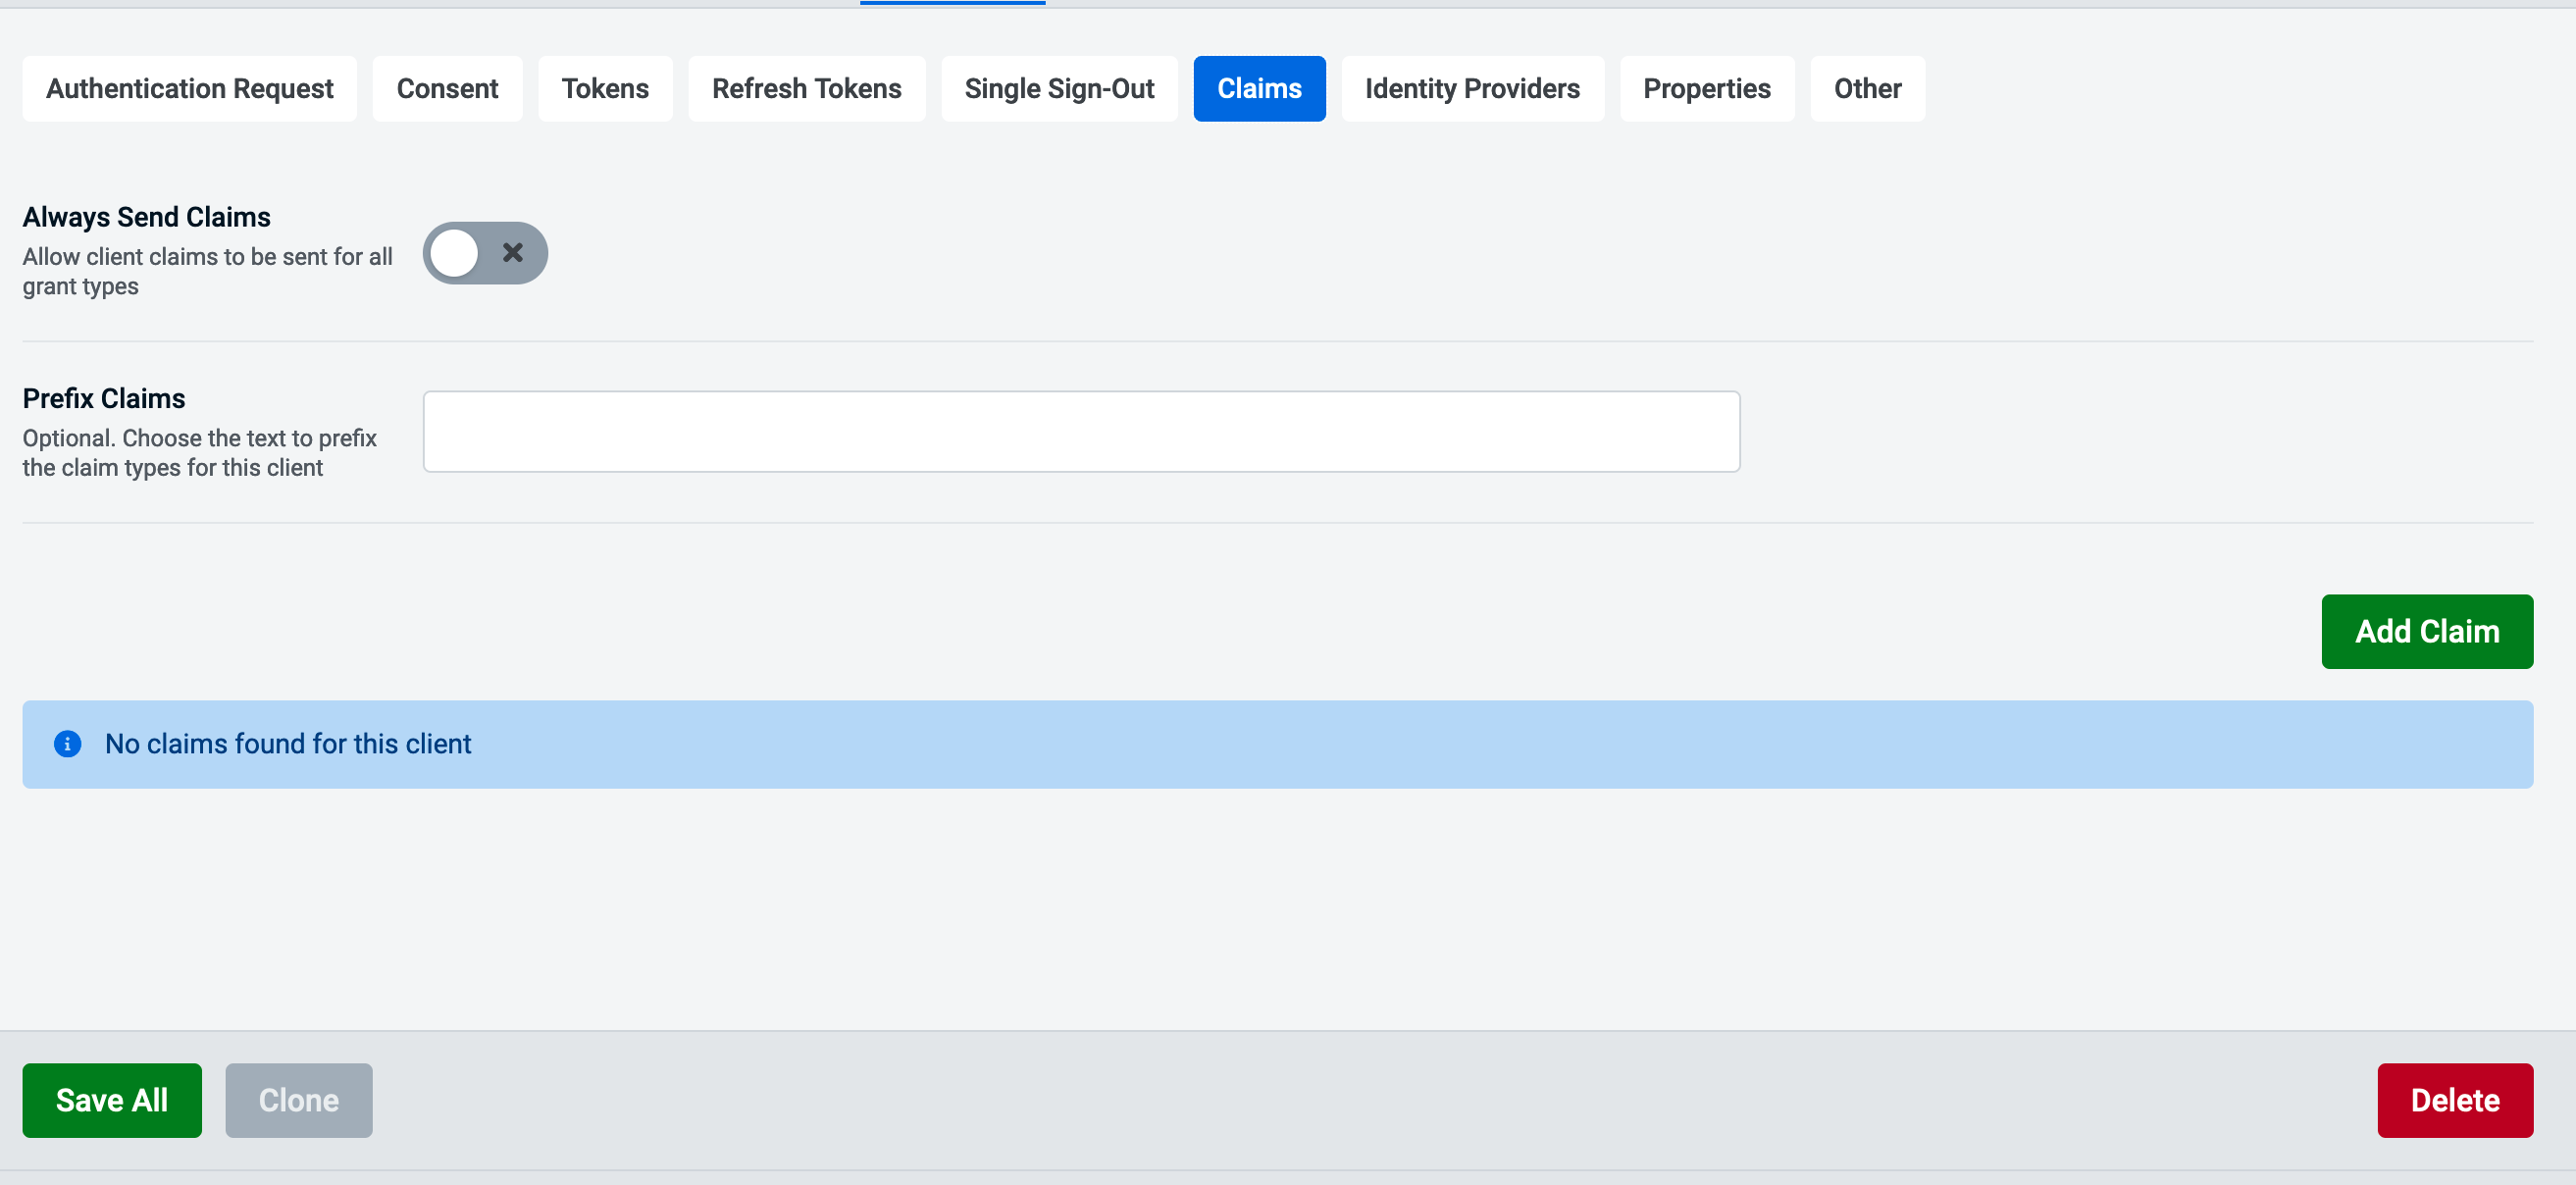
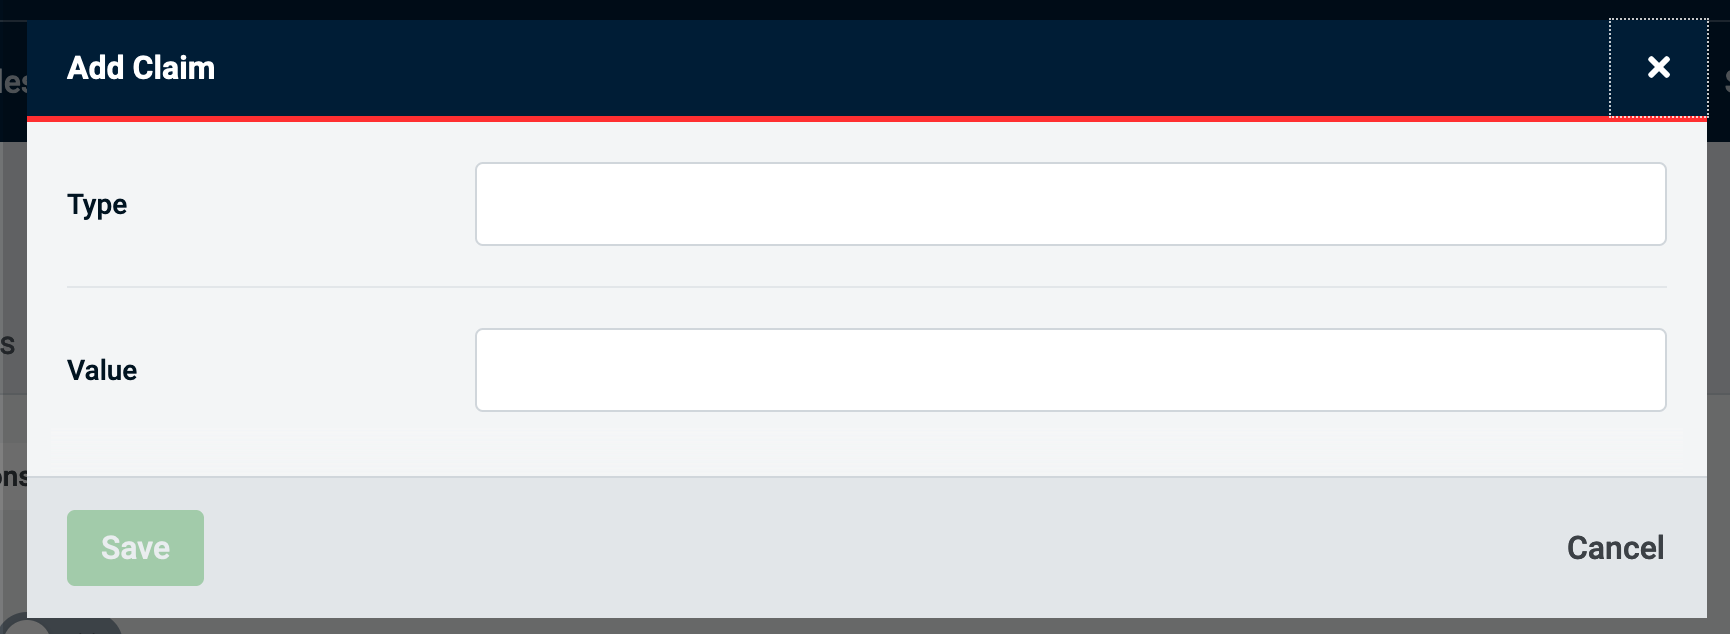
To add a claim select the add claim button then you will be presented with the following modal. It will ask you to provide a type and value, for example if you were adding the AdminUI admin role the type would be 'role' and the value would be 'AdminUI Administrator'.
Advanced Identity Providers Configuration
Here you can configure IdentityProviders a client is able to use, if no providers are defined a client is allowed to use all providers. You will also be able to specify if a client should be able to use local login with the 'Enable Local Login' setting.
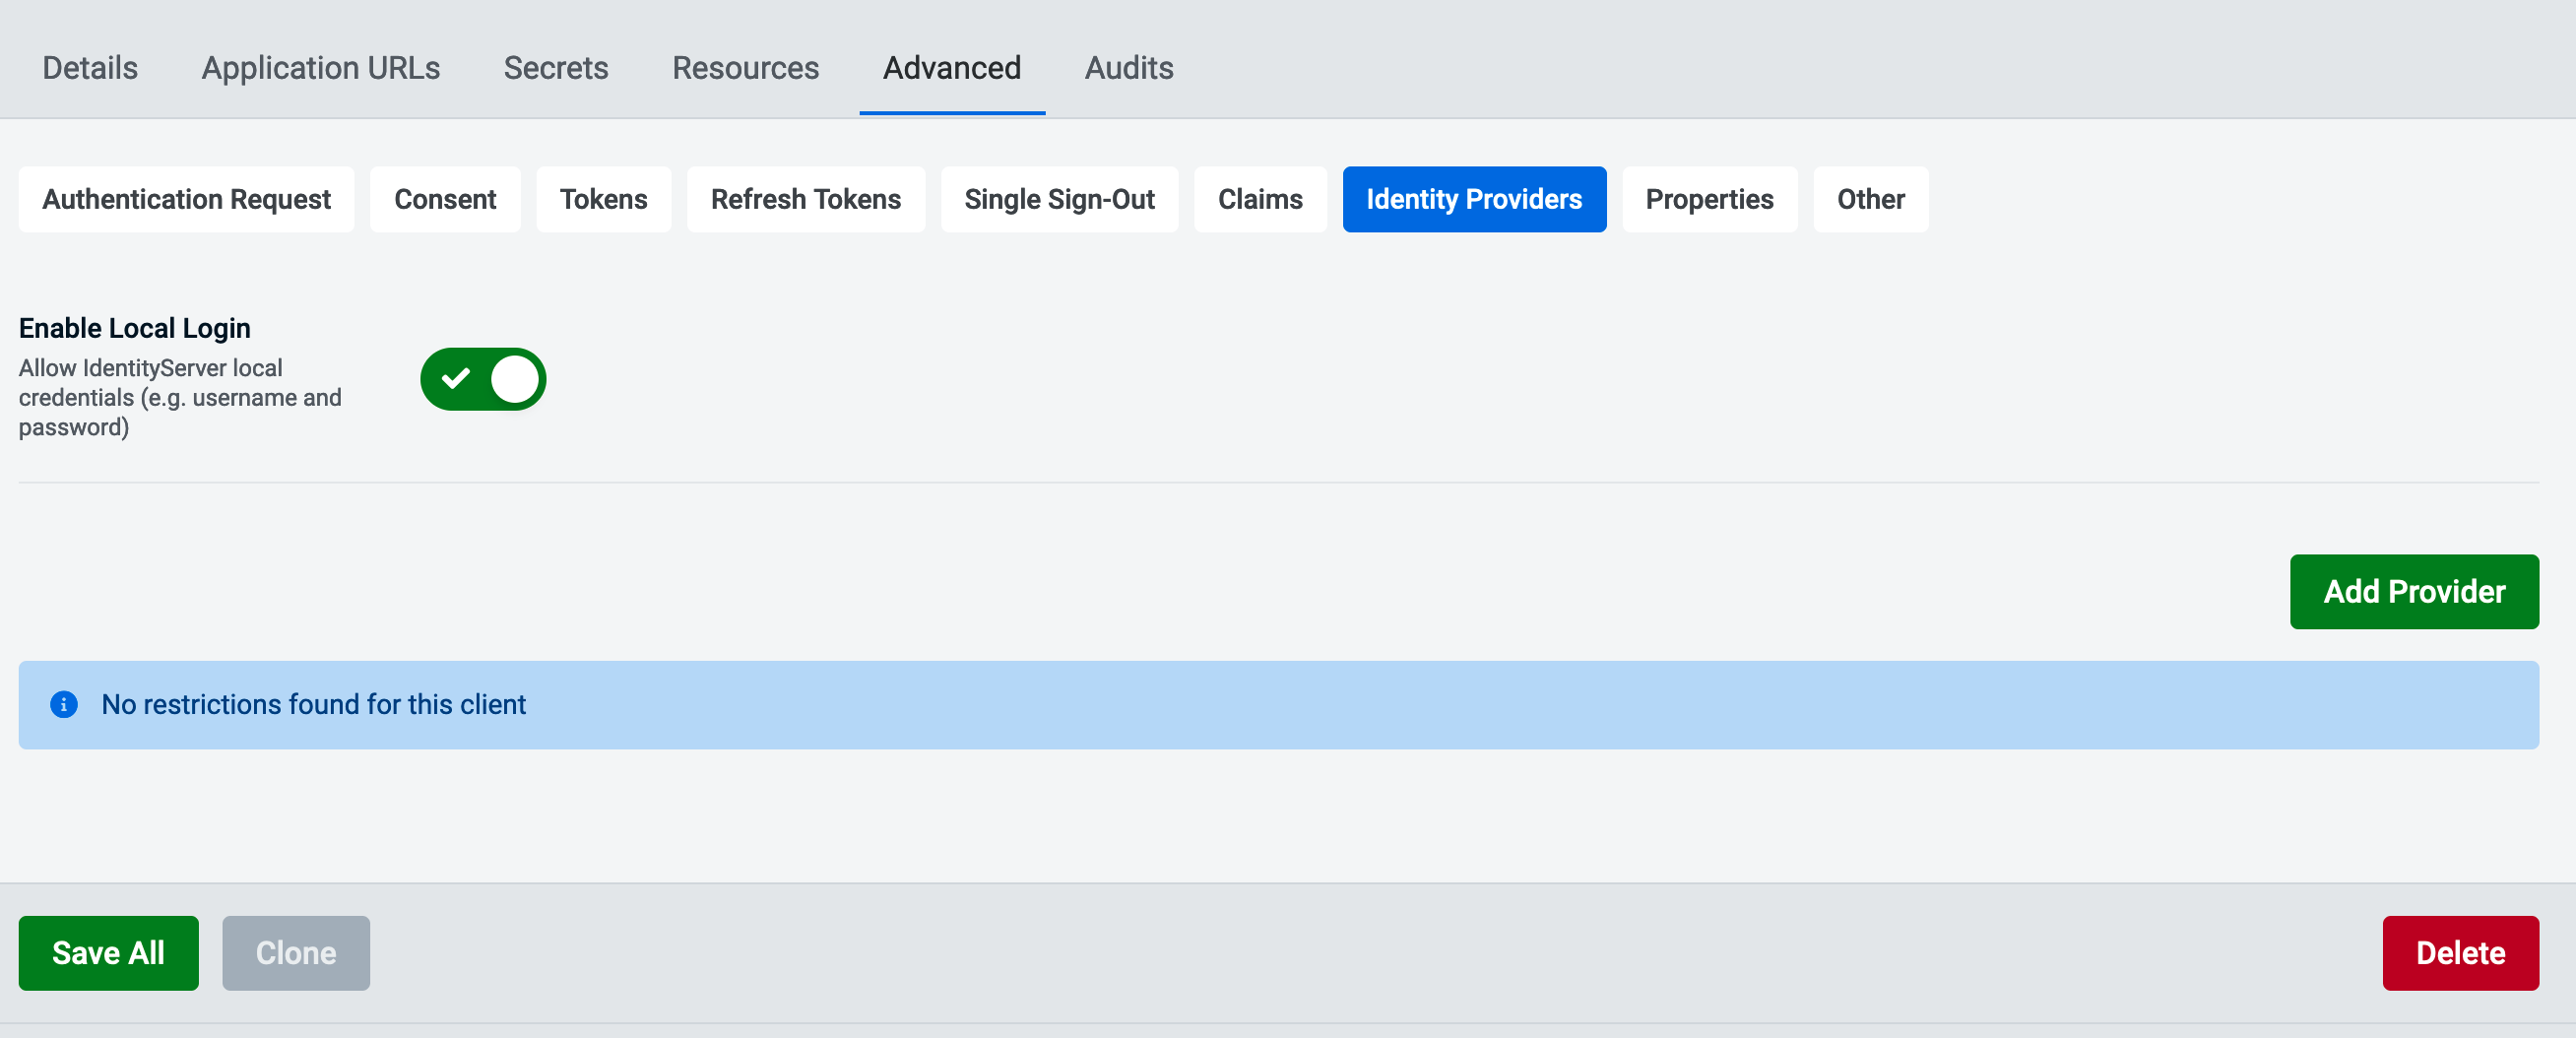
To add a provider click the add button and you will be presented with modal to specify the provider to add.

Advanced Properties Configuration
In the Properties advanced tab you are able to add to the property bin of a client.
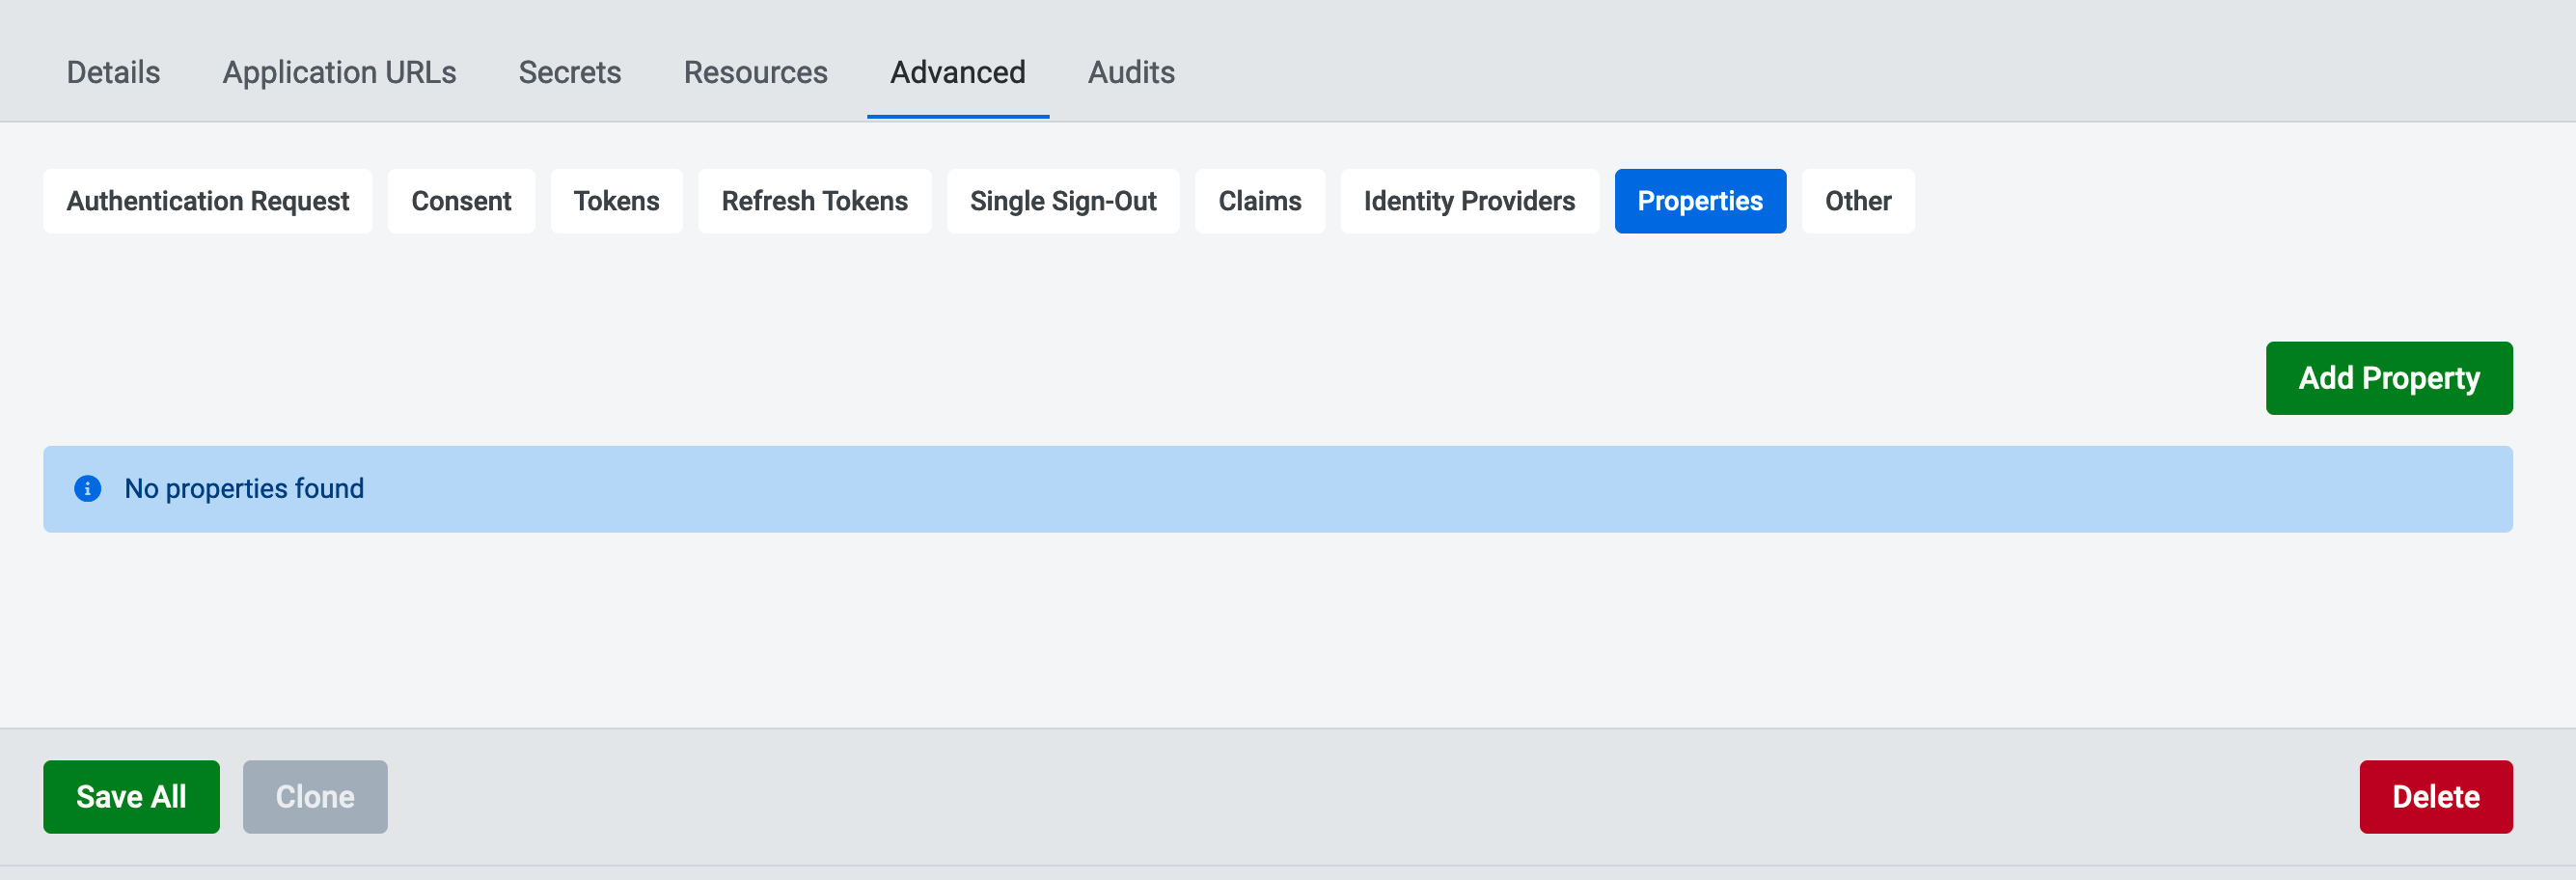
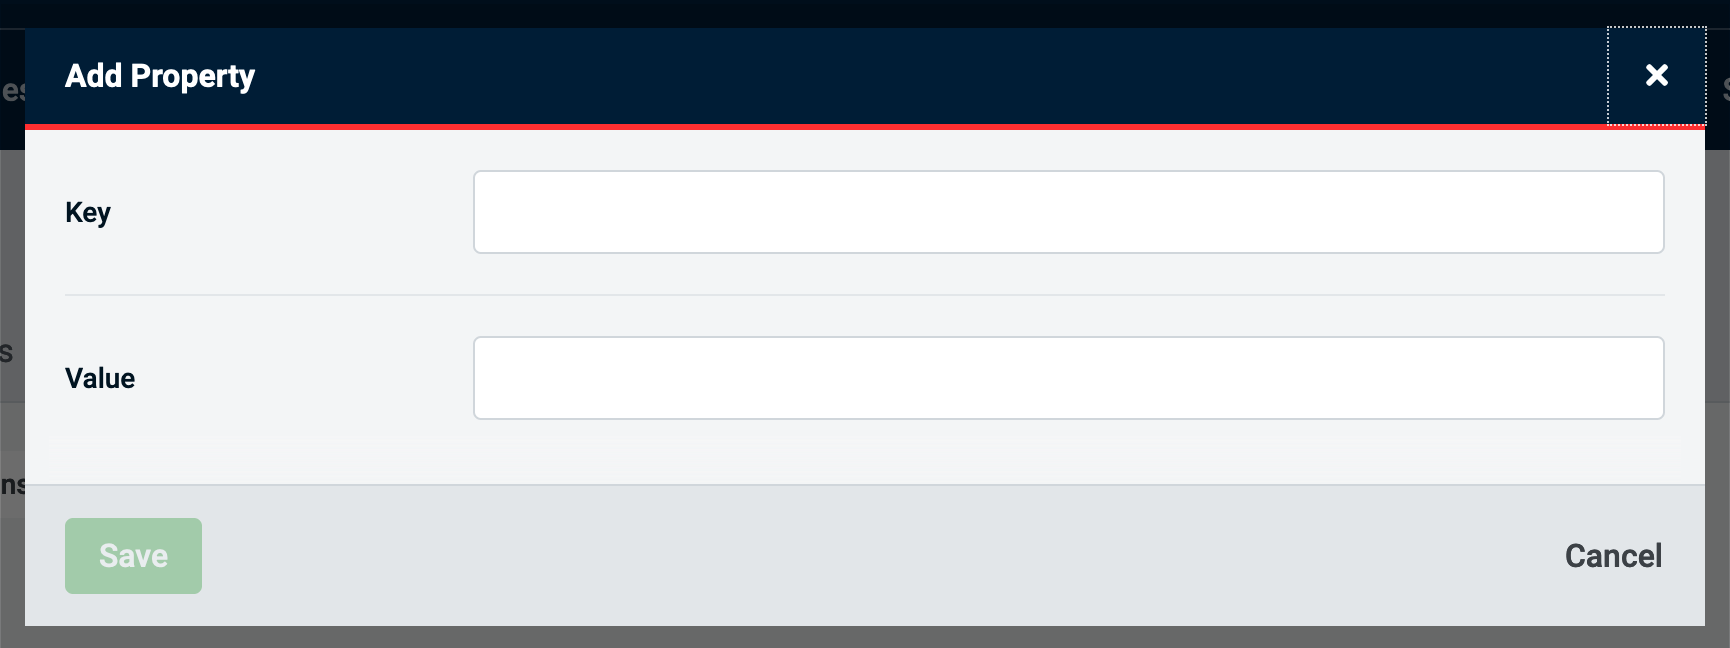
To add a property click the add button and you will be able to see the following model where you can define a key and value.
Advanced Other Configuration
Other advanced settings can be configured in this tab.
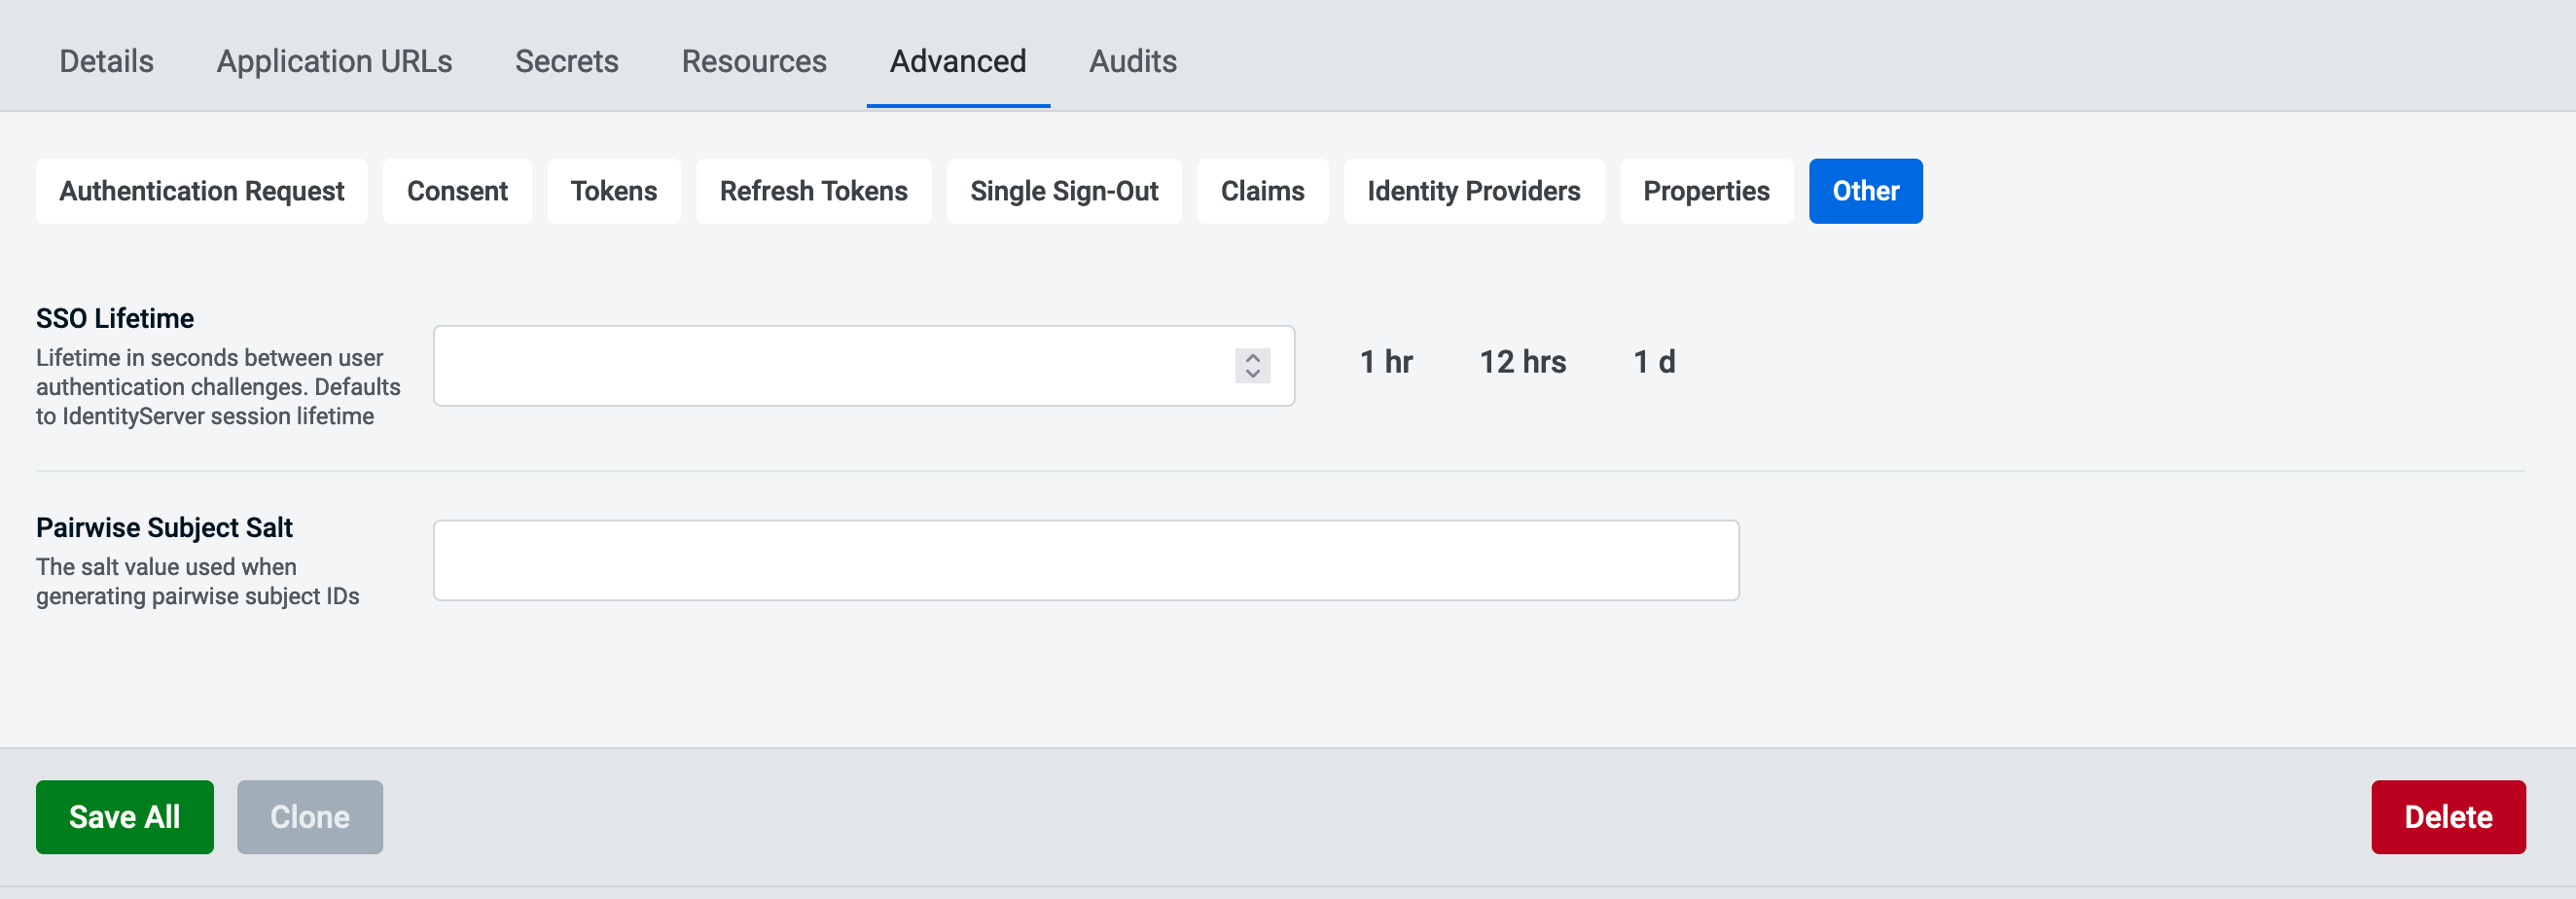
Settings that can be configured are:
SSO LifetimeLifetime in seconds between user authentication challenges. Defaults to IdentityServer session lifetimePairwise Subject SaltThe salt value used when generating pairwise subject IDs