Editing a SAML Dynamic Auth Provider with AdminUI
Once loaded you will be directed to the details tab by default. The SAML tabs to view and edit are:
Details Tabpage for managing general information about the SAML providerSPpage for managing the Service ProviderIdPpage for managing the Identity Provider
Details Tab
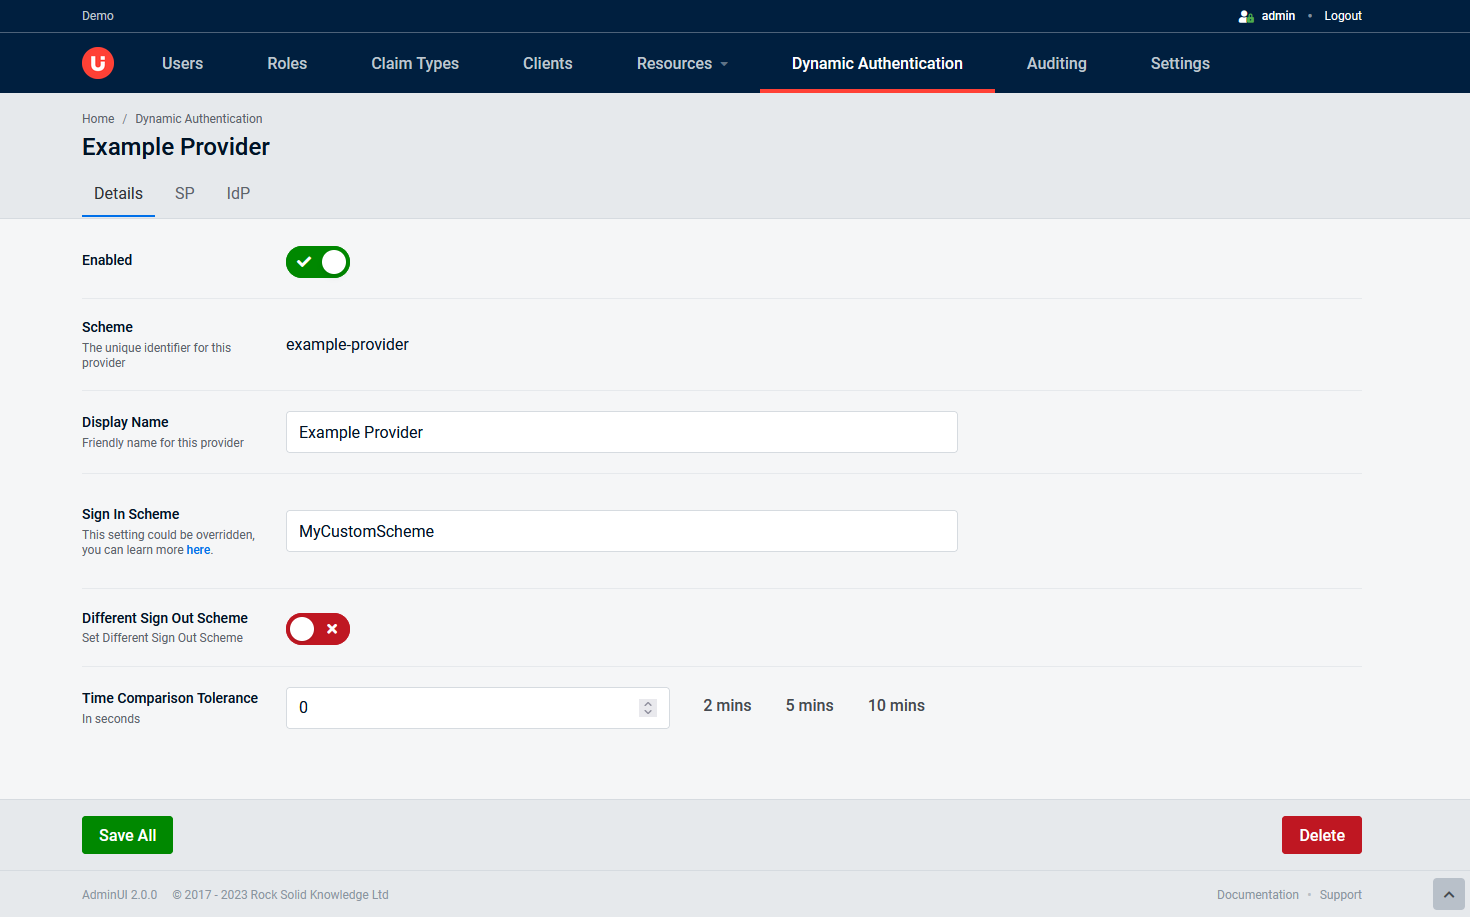
The Details tab is where you will be able to view the "Scheme" of the dynamic provider along with modify the following elements:
Enableda switch to enable and disable the provider (Only in Duende mode)Display Namea name used to identify the provider in the login screenSign In Schemean identifier for the authentication scheme that will be used on signing inDifferent Sign Outa switch to enable and disable the use of a different Scheme on signing outSign Out Scheme(optional) an identifier for the authentication scheme that will be used on signing outTime Comparison Tolerancea number of seconds used during SAML protocol validation. Allows time comparison checks to be inaccurate by this number of seconds.
SP Tab
In these subtabs, you can configure the Service Provider:
SP Details
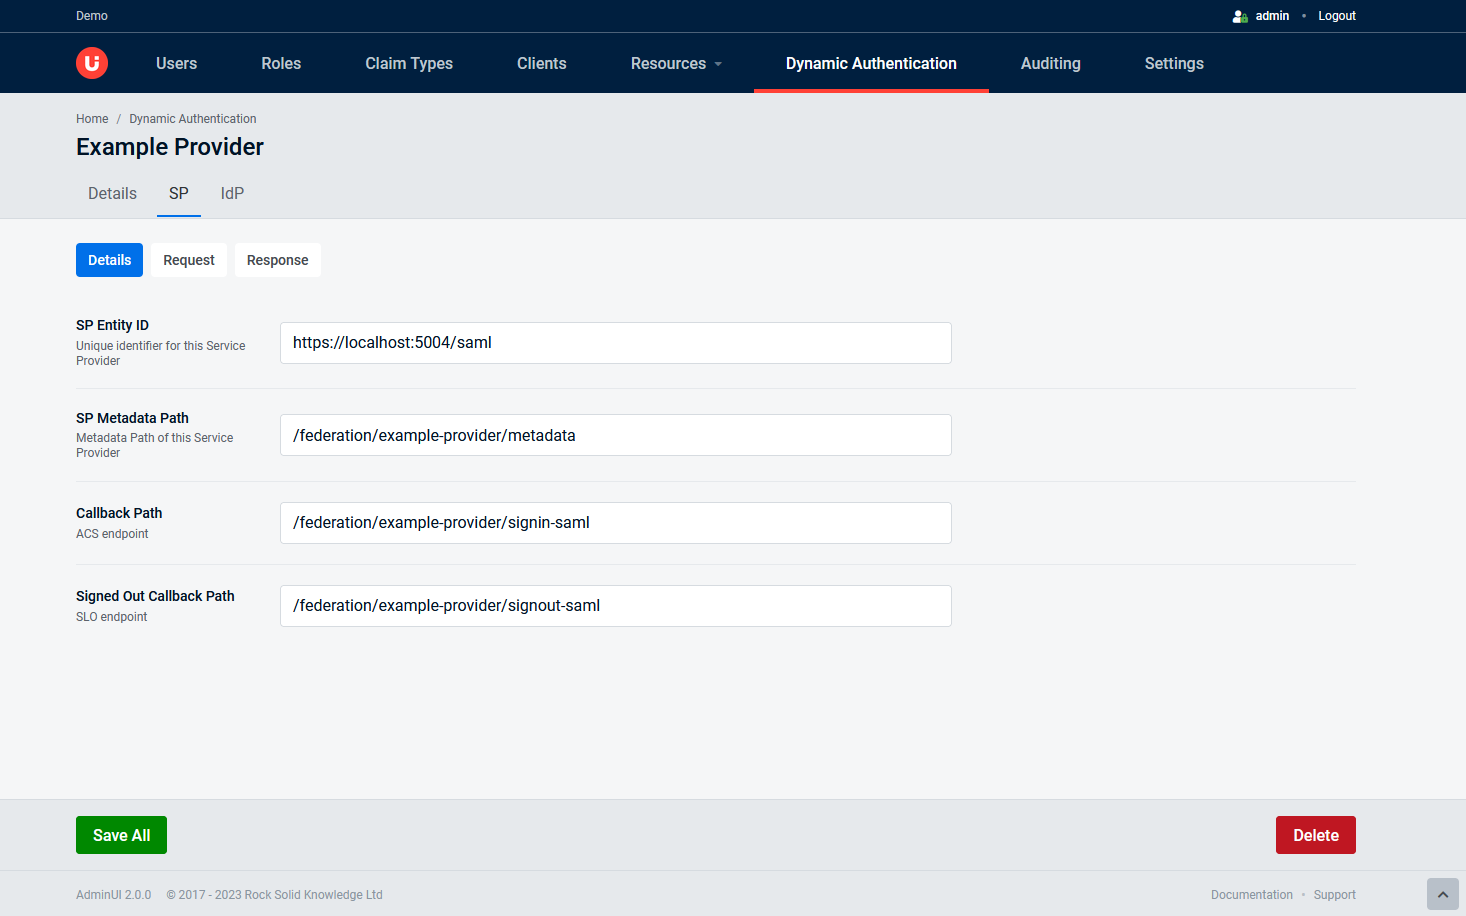
The SP Details tab is where you configure the paths and the Entity ID of the Service Provider:
SP Entity IDa name that uniquely identifies this SAML authenticationSP Metadata Patha path to access the Service Provider metadata. If you use Duende Dynamic Authentication, it must start with the configured prefix, the default value is '/federation/'.Callback Path (ACS endpoint)a path to redirect an authenticated user after sign-in. If you use Duende Dynamic Authentication, it must start with the configured prefix, the default value is '/federation/'.Signed out Callback Patha path to redirect a user when signed out. If you use Duende Dynamic Authentication, it must start with the configured prefix, the default value is '/federation/'.
SP Request
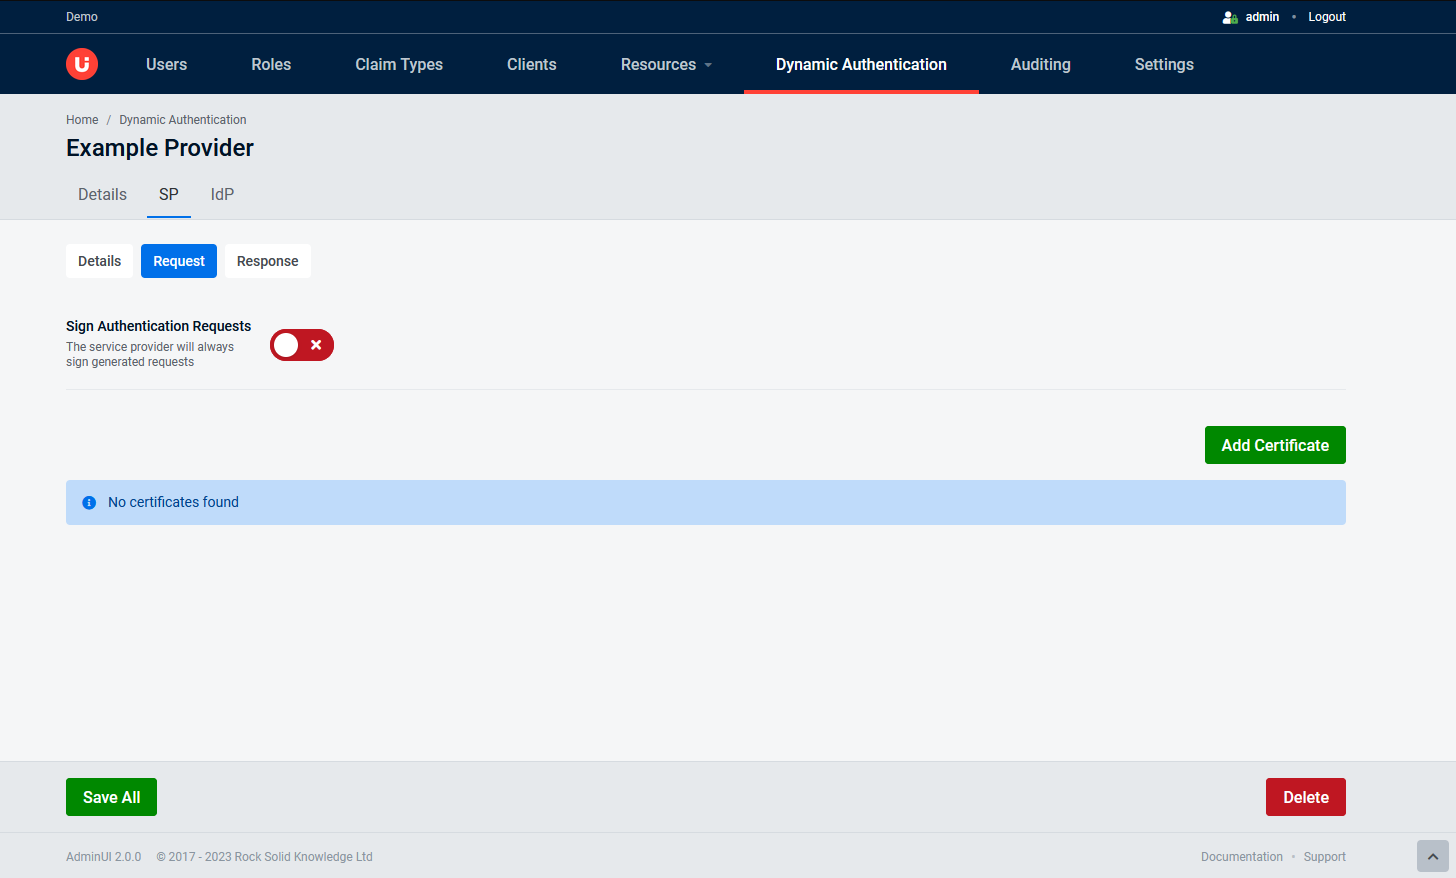
The SP Request tab is where you configure the signing certificate.
Sign authentication requestsa switch to enable and disable the signing of generated requestsAdd Certificatea button that opens a modal to store the certificate for signing in requests
SP Response
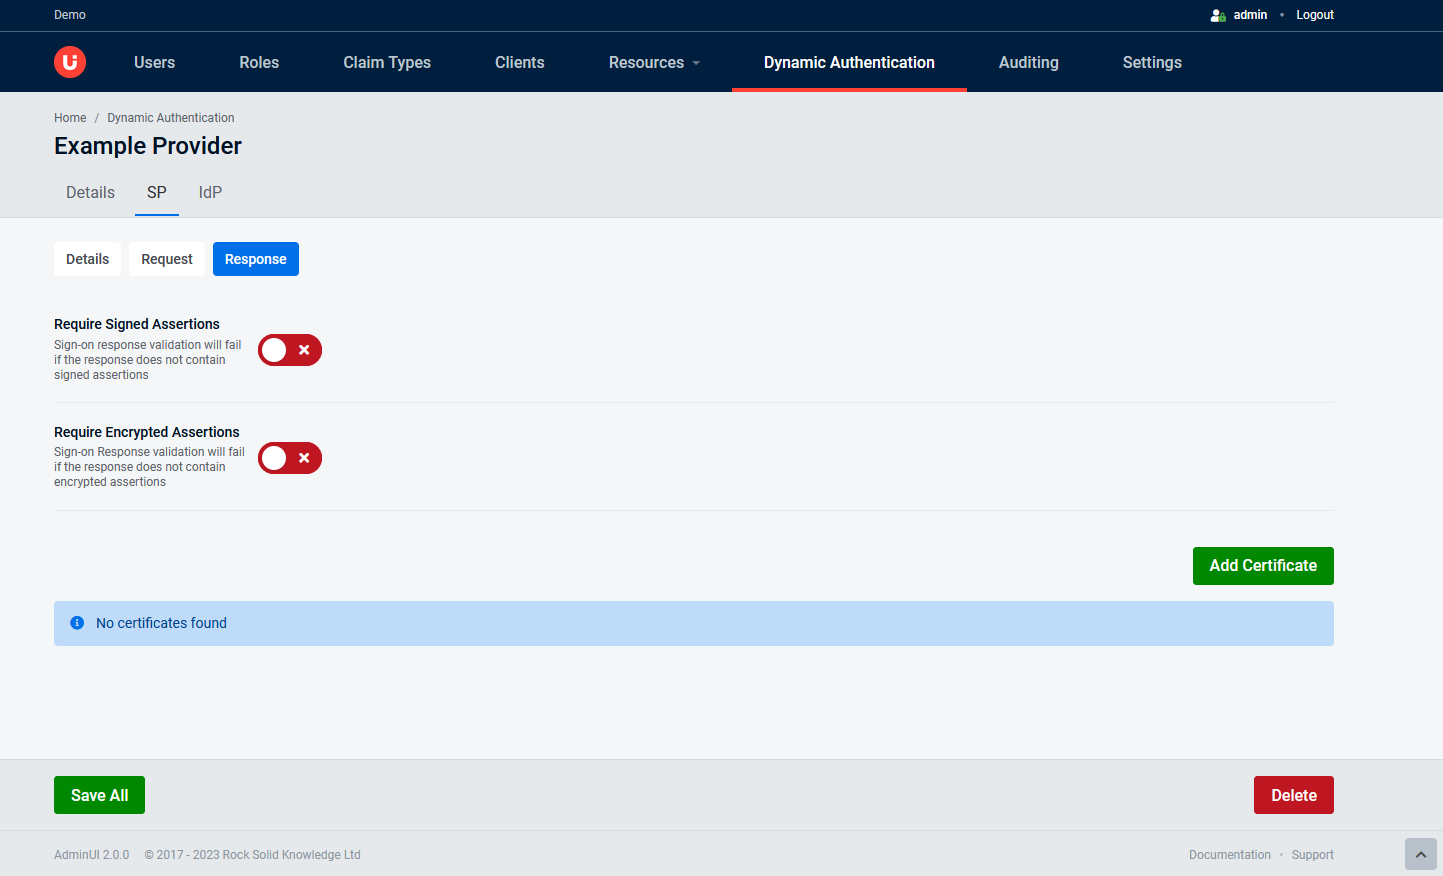
The SP Response tab is where you configure the encryption certificate.
Require signed assertionsa switch to enable and disable validation for signed assertionsRequire encrypted assertionsa switch to enable and disable the validation for encrypted assertionsAdd Certificatea button that opens a modal to store the certificate for encrypted assertions on incoming responses
IdP Tab
In these subtabs, you can configure the Identity Provider:
IdP Details
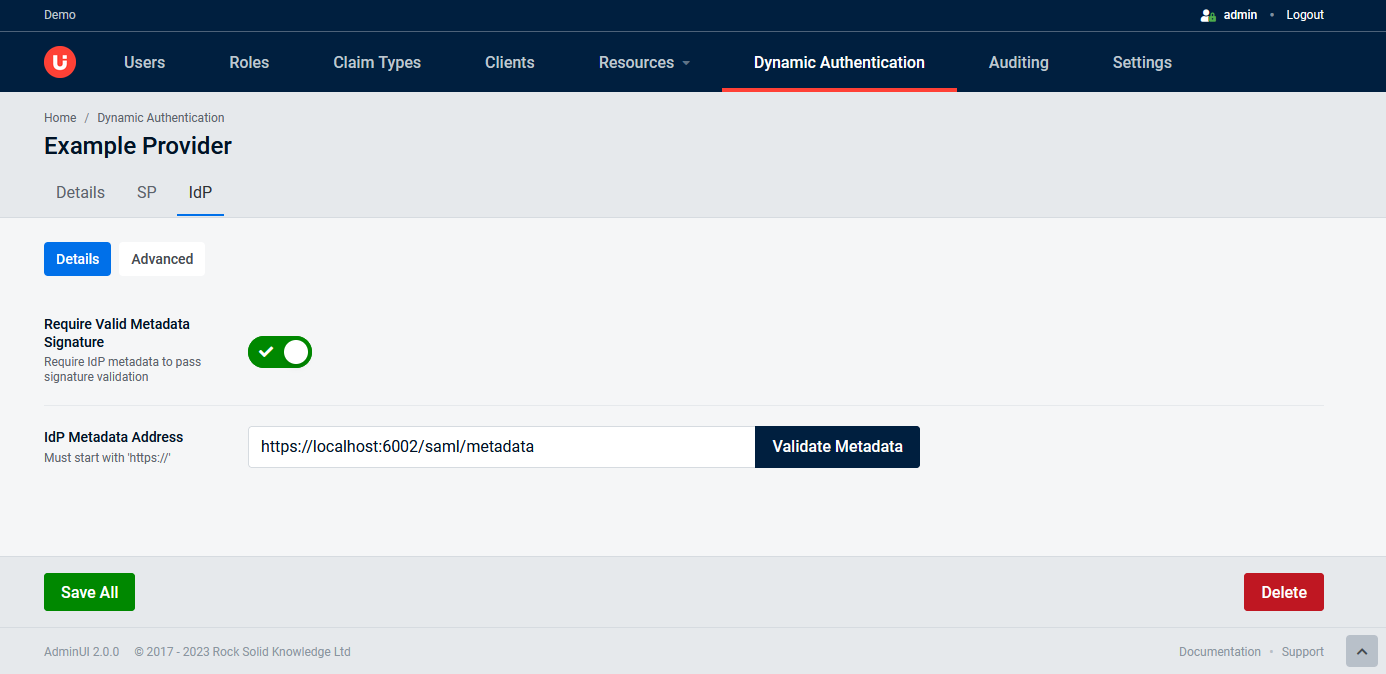
The IdP Details tab is where you point to the external Identity Provider metadata.
Require valid metadata signaturea switch to enable and disable validation for metadata signaturesIdP metadata addressthe address to the Identity Provider metadata document. It has a button to verify whether the address is reachable and that contains a well-formated metadata.
IdP Advanced
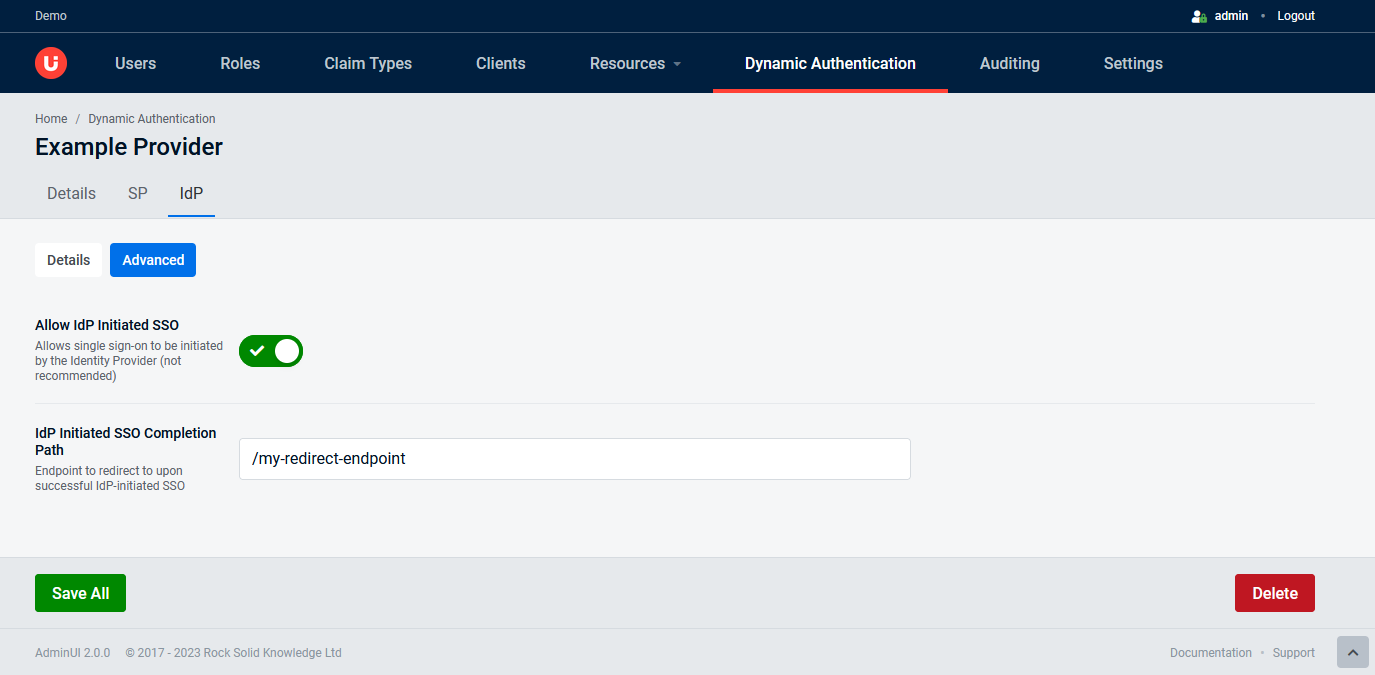
The IdP Advanced tab is where you can turn on and off the "Allow Idp Initiated Sso" option.
Allow Idp Initiated Ssoa switch to enable and disable permission to initiate single sign-on by the Identity Provider (It's not recommended).
Actions Available
In the edit screen there are two options available, these are described below:
Save AllOnce valid changes have been made this button should be clickable and it will save the changes made in all 3 of the tabs.DeleteWill completely remove the provider from IdentityServer
